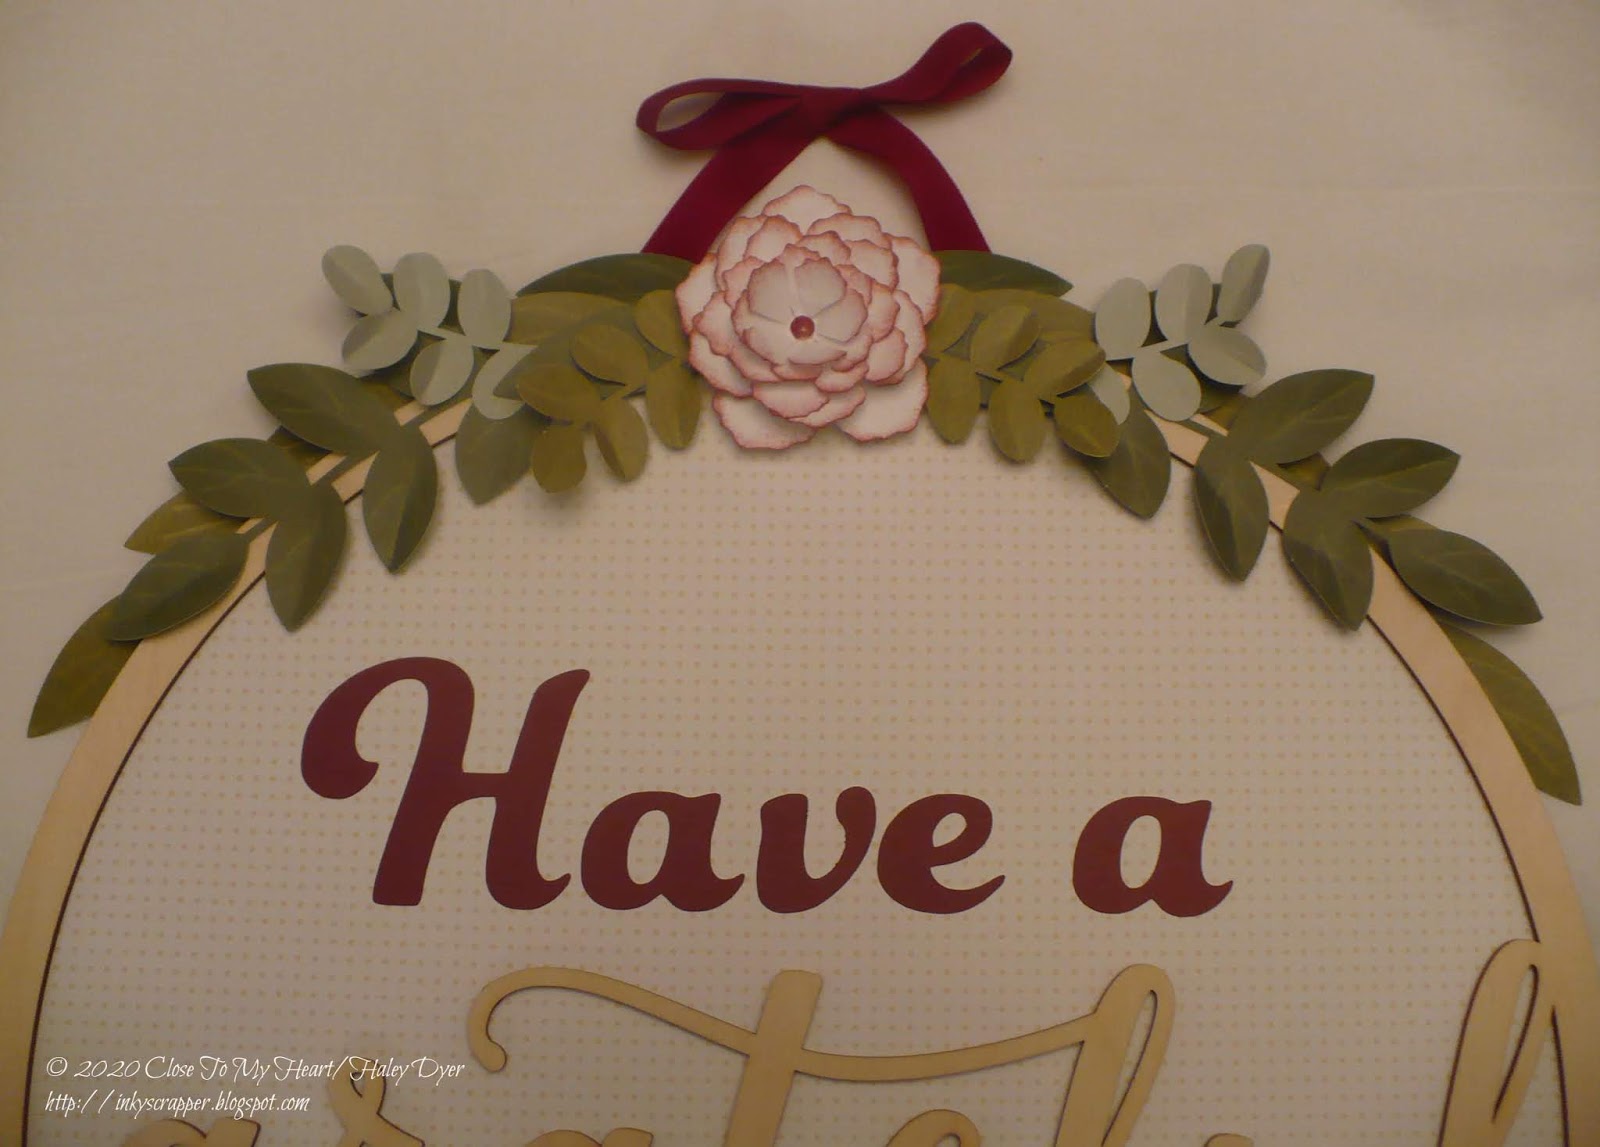
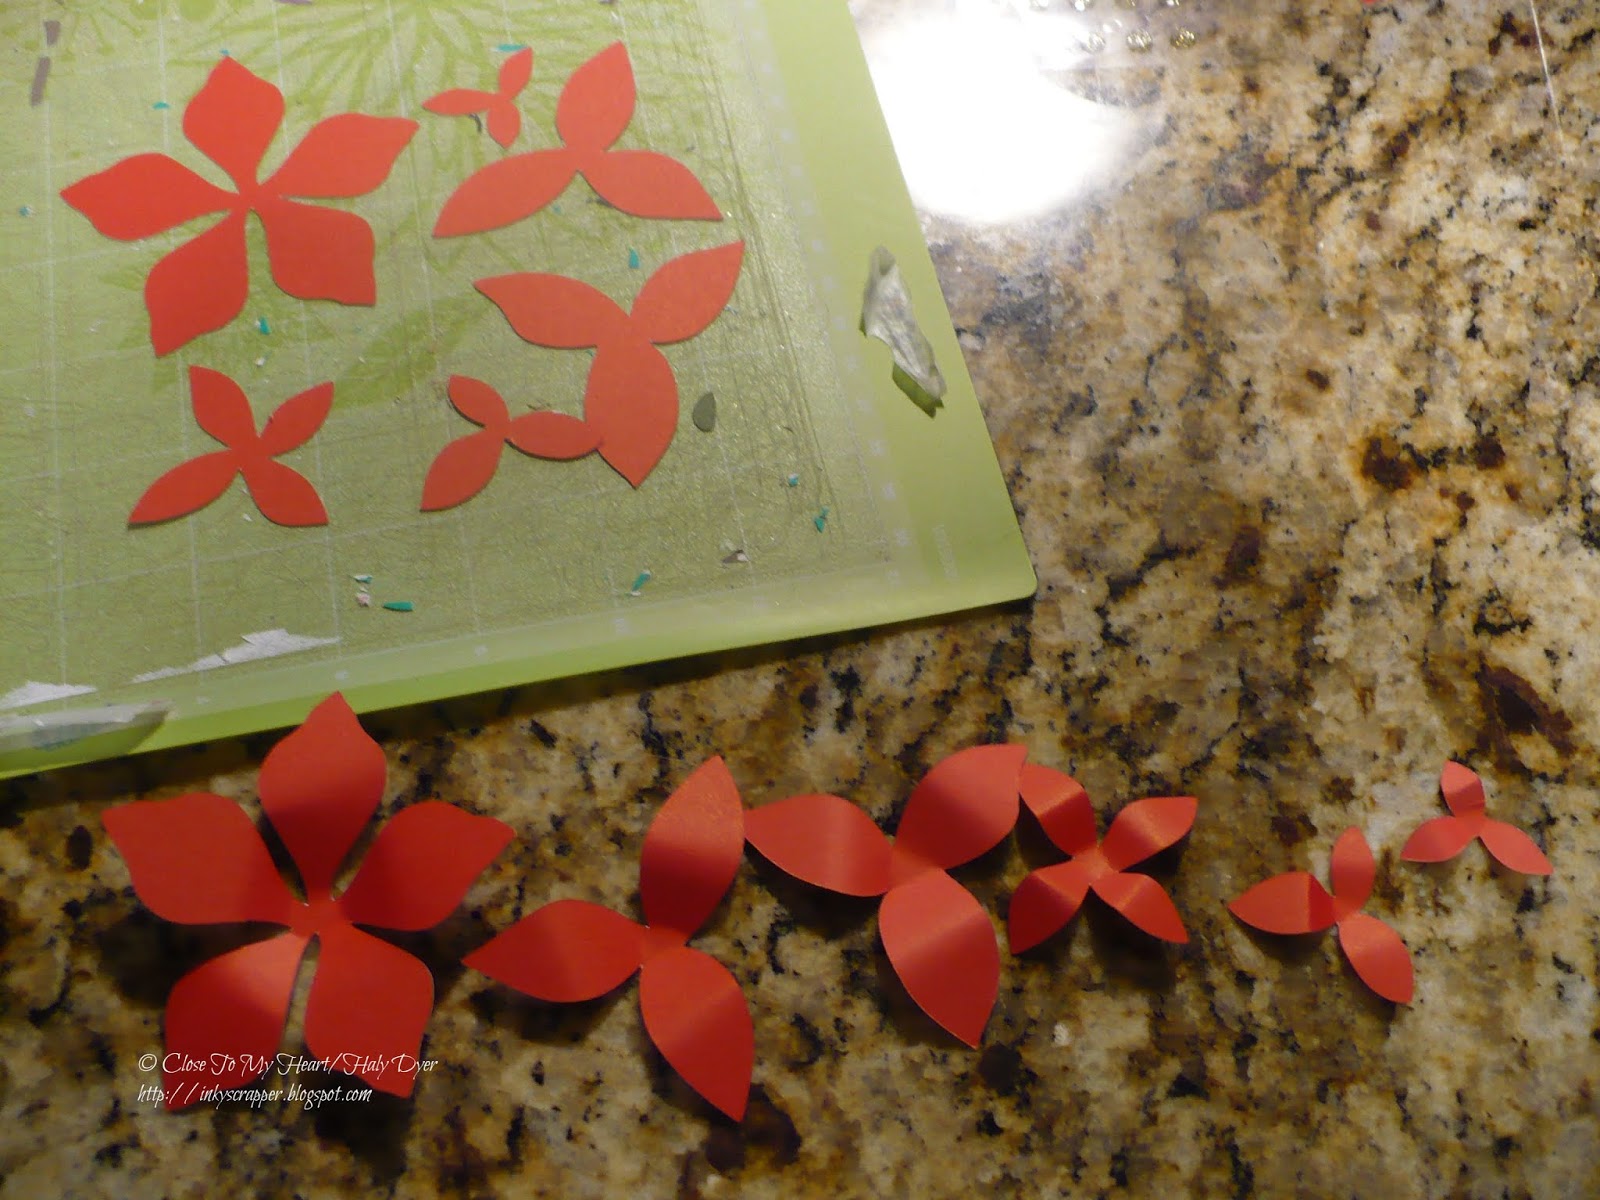
A fellow Stampin' Up! demonstrator shared this adorable "candle" decor and generously shared instructions with me. Here is my version.
Stamping, scrapping, and paper crafting: create, craft, and connect at my classes and online!
Friday, July 3, 2026
250 Home Decor
Wednesday, August 17, 2022
Teach Love Inspire Gift
As an educator, the August stamp of the month, Teach Love Inspire, really speaks to my heart! I made a little teacher gift for our daughter who begins teaching two segments of Public Speaking at the collegiate level as a TA in her Masters program at UGA. (Please give her a little virtual, heavenly whisper of encouragement! She starts teaching today!)
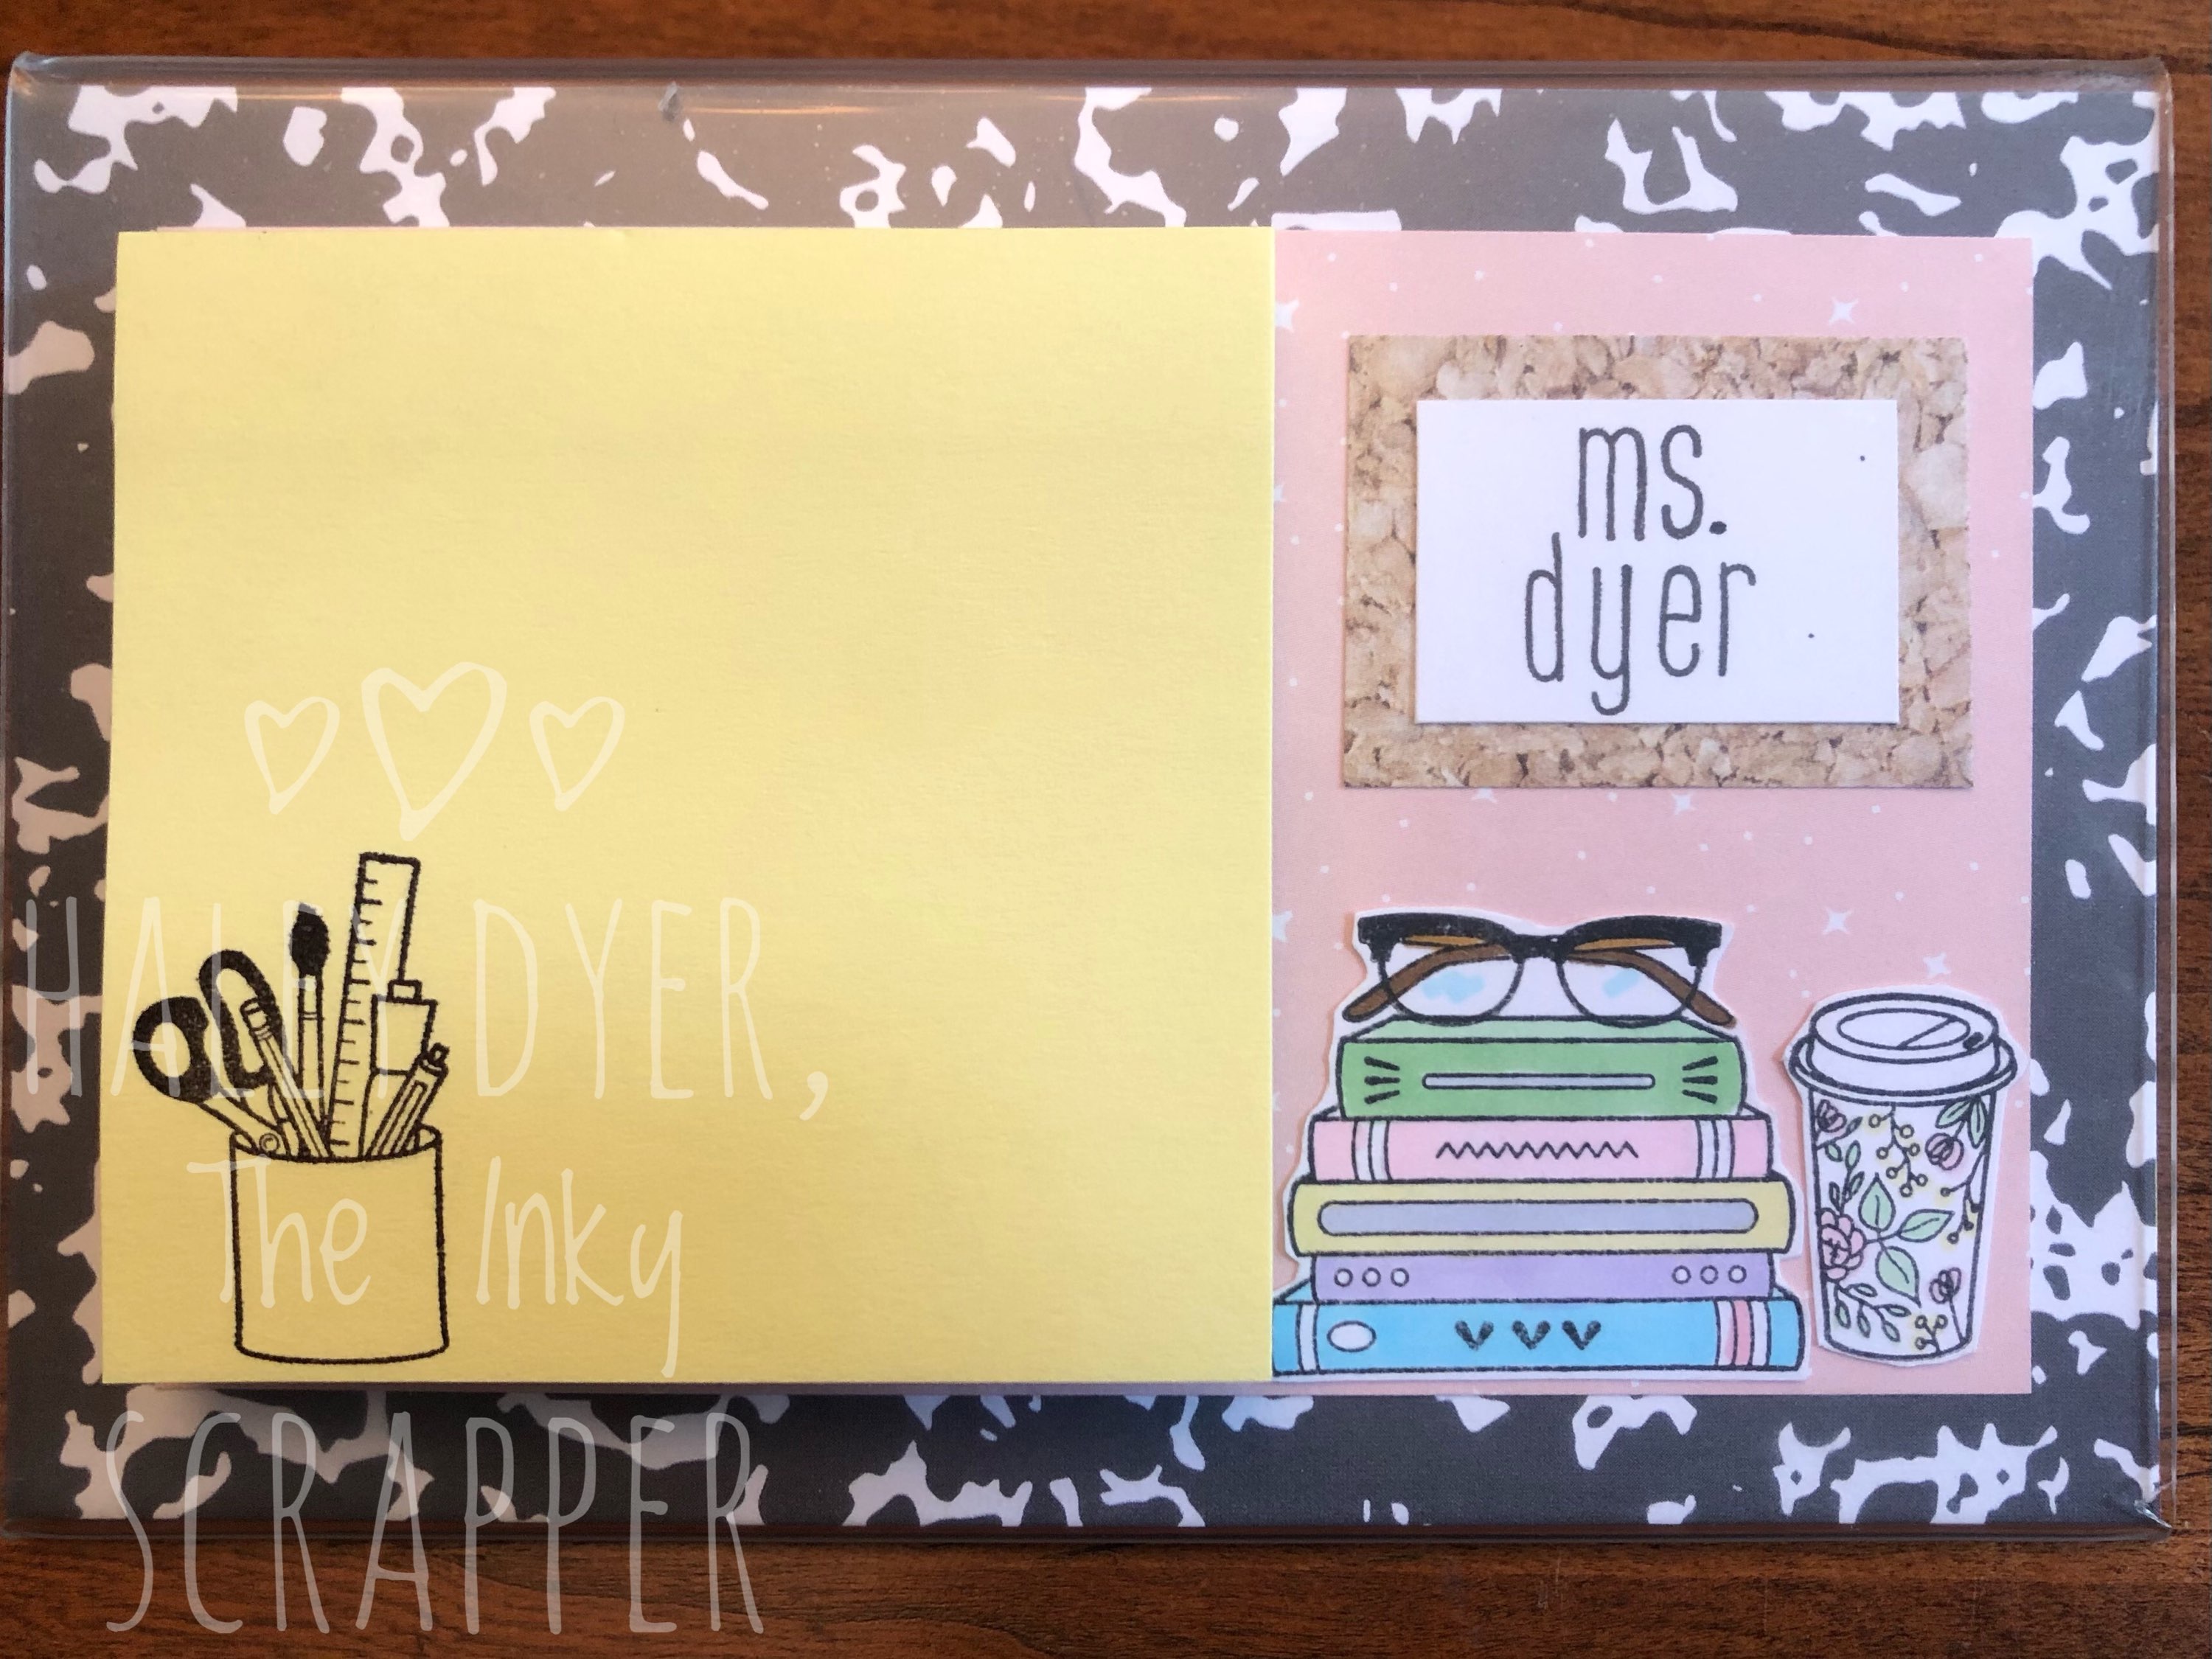
This little sticky note holder is made with a 4x6 acrylic frame. Rather than standing up tall to hold a photo, it lies at a small angel. I used the Smarty Pants collection (retiring at the end of the month) with the stamp of the month. I fussy cut and colored the images with some of my Spectrum Noir Tri-Blend markers. I stamped her name on the note on the corkboard with the Prairie Alphabet. I also randomly stamped images from the set on the actual sticky notes themselves. (I'm not sure when she'll notice the sticky note of encouragement I added to the back/underneath side of her note pad holder.)
I'm looking forward to creating a lot more with this stamp set! Remember, the August stamp of the month is only available through the end of the month!
Friday, April 30, 2021
More Than You'll Ever Know, Daisy Meadows, and You Are Enough Wall Hanging
The More Than You'll Ever Know stamp set meets Daisy Meadows and You're Enough collections in a 8"x10" wall hanging for my girls' apartment that they'll begin sharing in August!
I used 3D foam tape to push up the sentiments. I stamped the image first in Cinnamon and then stamped the pieces in Mint, Fern, Peacock, and Peach respectively.
Don't you love the rose gold foil on the You Are Enough collection? The rose gold foil tape is retired but a perfect match.
Can you see the shimmer I added with Peach, Gold, and Clear shimmer brushes? They add a nice touch in real life.
Don't be afraid to mix collections, especially when they share common colors! Daisy Meadows is going tonight, so get yours before it's gone! The other two are available through the end of May, while supplies last.
Thursday, July 9, 2020
Silver Anniversary
Of course I saw the original idea on Pinterest. I found the frame at our local Walmart and used actually spoons from our set that we've been using since our wedding (with extra pieces added thanks to eBay since Oneida no longer makes our pattern). The background is the mountain pattern from the recently retired Aurora collection, and I cut the letters with my CTMH/Cricut Art Philosophy collection at 1" on silver foil paper (and the numbers at 1.25").
![]() |
| (I think he liked it!) |
Here is the card I included:
I used the same Cricut collection with the silver foil paper cut at 2.5", the recently retired Mix In collection, silver shimmer trim, the Say It In Style stamp set, and pewter ink, along with some silver glitter gems.
We had a lovely day and hope to get away in the fall since our cruise earlier this summer was cancelled. Is anyone else ready for this pandemic to get under control?!? Thanks for letting me share my recent anniversary and projects with you. Thanks for being a part of our story!
Wednesday, January 22, 2020
National Papercrafting Month: All Around Creativity
I added the Sangria card stock, ribbon, ink, and adhesive, but everything else came right out of the kit.
I ended up only using one small flower (edges sponged with Sangria). I added a Sangria hole punch circle to the center and then added Liquid Glass to give it some shine. I did use every single piece of greenery. (Some of the single leaves are attached to the back and just peek through.)
My letters are cut at 2-1/2" from the CTMH/Cricut Artbooking cartridge. The heart is from Flower Market, and I've already forgotten what size it was. (My first one was too big, but I'll use it for something else.)
If you'd like to see the other options or order a kit for yourself, please visit my website HERE (only available through the end of February). Thanks for letting me share my take on this project with you. Mine is already hanging on our wall! If you order one and need any help, just let me know! I recommend Liquid Glass to adhere everything.
Monday, December 10, 2018
ABC (Anything but a Card) Holiday Blog Hop
My project began with the chipboard monogram letters to spell out JOY. (I actually scored this set- letters and gold glitter cutout overlays- at a recent CTMH flash sale, but you could easily cut your own.) I used the CTMH/Cricut Flower Market cartridge to cut these lovely poinsettia flowers from Candy Apple and New England Ivy cardstock and 3.5" and 3".
You can see the Candy Apple cardstock cuts and then how I bent them with my fingers to make them a little more authentic.
Liquid Glass is my go-to adhesive for this type of project!
A gold glitter gem finished off each flower center.
Here are the letters in my window sill. The "J" doesn't stand well on its own. I am thinking about adding ribbon to hand each letter in the window or on one of our French doors.
The possibilities with the monogram chipboard letters are endless! You could easily make a lovely monogram for your home. Thank you very much for hopping by! I'd love a comment before you leave to see what Darlys has created!
![]() |
| {Click HERE for all the hop participants and their blogs.} |
Friday, April 20, 2018
Picture My Life Hop
My first project will go an in 8"x10" picture frame and will be given to some friends who have an adorable, almost-seven-year-old daughter. This PML card from the Be-YOU-tiful set suits her so much! I paired it with pieces of the Gimme Some Sugar collection, Peacock card stock (to offset Norah's gorgeous red hair) and pink pearls in honor of her June birthday.
This PML Be-YOU-tiful project is a 6"x8" sign (using a My Everyday Life page protector) that is hanging in my closet. (Read all about it HERE.)
My final project is a set of cards using the PML cards from the Make Waves collection and the Southern Sass stamp set. (Read more about this set HERE.)
Picture My Life cards are so versatile! Use them in any of your papercrafting projects! I'd love for you to leave a comment before you hop on over to Melissa's blog next! Thank you!
![]() |
| {Click HERE for all the hop participants and their blogs.} |
Sunday, April 15, 2018
CTMH Technique Blog Hop: Creative with Cards
I decided to use this sentiment card from the Be-YOU-tiful Picture My Life collection to make a sign for my closet. The pretty white stripes are actually one of the clear Picture My Life Overlays- White Frames. To hold the clear overlay on the project, I added the white gems on three of the corners and then used a glue dot underneath each one. (The fourth corner got a cutout from the Gimme Some Sugar paper). I layered the sentiment panel onto a mat and base of Gimme Some Sugar paper.
I strategically made this project to measure 6"x8" to fit into an Everyday Life page protector "frame." A little Juniper twine from the Whimsy ribbon collection lets this "picture" hang from a command hook.
I hope you like my little project. I'd love to know what you think before you head off to see how DEBI is getting Creative with Cards! (Just click on her name to hop on over.) Thanks for hopping by!
Monday, March 5, 2018
H2H Challenges: Seasonal Expressions 1 Cover Challenge
The Chelsea Gardens collection on the cover is my favorite from this Idea Book, and I have enjoyed creating many projects with it, but today I am featuring something a little different.
These pots of succulents never need watering! Guests as my open house last month each made their own mini pot to take home.
The succulents were cut from the CTMH/Cricut Flower Market cartridge with Sweet Leaf, Fern, and Juniper card stock.
Once cut, I sponged the edges either with the same ink or a contrasting ink. (I really ended up loving Pomegranate sponged onto a Fern succulent!)
Everything is stuck together with Liquid Glass. (Just remember that this stuff will hold anything but dries shiny and wet-looking.)
I bought the moss in the craft section of my local big box store, and the terracotta pots came from the garden center.
Thanks for letting me share a fun home decor project with you that you can literally make, place where you like, and practically forget about having to care for it! Be sure to see all of the inspiration from the H2H designers, and join us this month!
Saturday, February 3, 2018
Love Letters Monograms
Since my "baby" loves the color blue, we decided to use Glacier card stock to cut flowers for her monogram rather than use the pink flowers included in each kit. She also did not want a name/word banner on her letter.
To create the rose gold flower centers, I used a regular hole punch to cut out pieces from the sticker sheet. Then I used Liquid Glass to give them dimension. The Glacier centers are from the Chelsea Gardens collection.
Again, these letters may still be available this weekend while supplies last, but you must contact me!
Thursday, November 16, 2017
Just for Fun Blog Hop
After stamping A Grateful Heart with Charcoal ink, I sprinkled silver embossing powder then heat set. I used Charcoal, Pewter, Cranberry, and Fern ink plus Basics and Adventure Fundamentals, silver shimmer trim, and gray thick twine. (I did add a few swipes of Carmine Shin Han Twin Touch marker to make the red flower pop.)
The final version also started with A Grateful Heart stamped in Charcoal with clear embossing powder. I used Eggplant instead of Cranberry and then pieces of the Basics and Enchantment Fundamentals and Enchantment ribbon.
Thank you for visiting me on the Just for Fun blog hop! Please leave me a comment before you hop on over to Brandi's blog next!
![]() |
| {Click HERE for all the hop participants and their blogs.} |
Monday, November 13, 2017
H2H Challenges: Count Your Blessings
To begin, I cut a White Daisy card stock to 4"x6". I stamped A Grateful Heart with Espresso ink and then immediately sprinkled gold embossing powder on it, tapped off the excess, and then heat embossed. The purpose of this is two-fold: first to make it easier to watercolor and second to give it some sparkle. (Unfortunately that sparkle was impossible to photograph!) Also, note that you will not get the full, even embossing coverage that you would get with embossing, pigment, or Versamark ink.
The I watercolored my wreath with my waterbrush and Espresso, Toffee, Almond, Fern, and Lagoon inks.
Finally, I added the layers of Fundamental Basics and Lagoon card stock (lighter side). I placed the glass from my cheap frame onto my project and tied the white & gold ribbon around it then popped it in the frame. I love how it turned out!
As I said, I have made a few more gifts. What color combo would YOU prefer? Please leave me a comment! The H2H challenge, Count Your Blessings, is open all month so please join us. Just click on the name to go to the blog. I'm very grateful that you've stopped by!
Sunday, October 15, 2017
CTMH Technique Blog Hop: Terrific Tags
My tag is actually a wall hanging! I was inspired by wooden door tags that I saw on Pinterest. For mine, I used the CTMH/Cricut Artbooking cartridge and the Falling for You Workshop Your Way (with a few additional materials). To begin, I cut a photo mat that looks like a tag to me. Be sure to set this cartridge on "real dial size" before you cut! Mine is 9-3/4".
Then I cut the "give thanks" sentiment twice: once on the Fern B&T (at 3") and again on the Goldrush B&T. I carefully cut the "thanks" portion out of the Goldrush piece to layer on top of the Fern piece. Next I painted over the "thanks" with my gold shimmer pen twice to make it sparkle. (That shimmer pen is really difficult to photograph, but hopefully you can see a bit of its sparkle.)
The pretty pumpkin patch image is from one of the Picture My Life cards from the Falling for You collection that I fussy cut and added to the bottom of the tag. All of the kraft pieces are from that collection. (I added one of the kraft leaves into the pumpkin patch.) I also only glued the pumpkin/acorn portion of that piece and curled the outside leaves up off the project a bit. It adds some dimension that was very difficult to photograph. Finally, I did add the gold shimmer trim behind the kraft border piece, the gold glitter dots, and the pretty gold ribbon (from the Basics ribbon collection). I love how this turned out, and it is going to stay on our coat closet door in our entryway through Thanksgiving.
I hope you like my twist on a traditional tag project. Please leave a comment before you go! I really appreciate your feedback. Now go see what Terrific Tag project Judy Faye has! (Just click on her name to visit her blog.) Be sure to give thanks always!
Saturday, September 16, 2017
Featured Paper Blog Hop: Falling For You
I grabbed one of our Memory Protectors Design 5 because I wanted to use the "Count Your Blessings" 4"x6" card on this wall hanging. I cut various pieces of the Falling for You paper pack to fit the openings (4"x6" and4"x3") and then added the Complements artwork, bronze & white twine, and bronze sequins (all included in the Workshops Your Way collection). I will add some Fern ribbon to the top to hang this on my wall (and of course some pictures too!)
Here's a scrapbook layout I made with the Falling for You collection and the September stamp of the month, Feel So Blessed. You can find more about this layout HERE.
Thanks for hopping by! Both of the featured collections are available until the end of 2017. Now, hop on to Gerri's blog next!
Saturday, May 20, 2017
Seasonal Expressions 2 New Product Blog Hop
When I saw the "relax" and Adirondack chair in the coordinating No Worries complements, I decided that I needed to make a sign. (I am slowly trying to decorate our basement with a lake theme since we live on a lake.) All of the cut out pieces were made with the CTMH/Cricut Flower Market cartridge (sentiments & anchor). The other pieces are from the complements.
To make my background, I began by swiping Cashmere pigment ink across the bottom of my 8"x10" canvas panel. Be sure to swipe the edges also. Next I did the same thing across the very bottom with Desert Sand ink.
Then I started at the top swiping Glacier ink (regular dye-based ink and not pigment ink) and then Lagoon, overlapping them and working from lightest to darkest with my colors.
Finally I added a band of Sapphire to the middle.
WARNING: It took about a week for my canvas to dry! I probably could have spend up the process, but I didn't have time to work on it then anyway. I will probably go back and seal the entire piece with mod podge.
To create the nautical knot, I used our new white burlap ribbon (available in the Workshop Your Way or individually) after searching for some instructions.
Here's a nautical card that I also made using the same basic materials with the addition of silver shimmer trim. (What?!? Silver?!? Learn more HERE.)
Thanks for checking out my Seasonal Expressions 2 No Worries new product showcase. There is so much to choose from that it was hard to decide what to share! Please leave a comment before you go visit Gina Brandstetter's blog next. Thanks!
![]() |
| {Click HERE for all the hop participants and their blogs.} |