Tuesday, September 30, 2014

October Stamp of the Month Blog Hop: Home for the Holidays

If you're a crafter, then you know how important it is to stay ahead of the holidays, so please don't be offended to find Christmas here before Halloween!  The October Close To My Heart stamp of the month has traditionally been a great stamp set for the winter holiday season, and this year is no exception!  Welcome to the October stamp of the month blog hop featuring the Home for the Holidays stamp set!  (If you're already hopping, then you've arrived from Krista's blog.  When you're ready to leave here, you'll visit Michelle Stewart's blog next.)

 My first card uses the Yuletide Carol paper pack and color palette.
Don't you love that bear?  To create him, I first cut out the postage stamp with my CTMH/Cricut Art Philosophy cartridge.  I stamped the image in New England Ivy on there.  Next, I stamped the image again in Glacier and then again in Ruby.  I cut out the Glacier rectangle and then fussy cut the Ruby scarf.  It was easy to assemble once all the pieces were cut, and let me tell you, that Ruby scarf makes the bear POP.
Here's a card I featured way back in August using the Snowhaven collection.  Are you ready for Christmas crafting yet?  You'll get tons of ideas along this hop, so go see what Michelle has in store for you.

If you happen to get lost along the way, come back here and click on this blog hop badge to get the complete list of hoppers.  Thanks!
Click HERE for the hop list.

Wednesday, September 24, 2014

Family Is Forever Reunion Layout

The September stamp of the month, Family Is Forever, is a great stamp set to pair with family reunion photos!  We made this layout at my recent scrapbooking class, and pictures from our annual July family reunion were a great match.
Using a sketch, like this one from Cherish, makes scrapbooking so simple.  Just choose your papers, cut, and adhere.  Of course, we had to get a little fancy...  You'll notice that I used Chocolate ink to distress most of my paper pieces and then distressed the photos with Desert Sand ink to soften them up a bit.
To stamp this gorgeous tree, we tried a couple of techniques.
  1. Ink up entire stamp in Desert Sand ink.  Rub the stamp across the pad to get the streaked, bark-like effect.
  2. Ink up the leaves (or at least most of them) by pressing them into Olive ink.*
  3. Use a sponge dauber to pull ink off of the hearts.
  4. Huff (breathe) onto the stamp to activate the ink, and stamp onto Colonial White card stock.
  5. Use a (retired) Barn Red marker to color in the hearts.
To add the family names, I just used one of our new Shin-Han Touch Twin markers to write them.

*During our class, my friend Peg wanted autumn-colored leaves (and I unfortunately forget to snap a picture), but she used a sponge dauber to pull ink off of the leaves, then pressed them into Goldrush, Autumn Terracotta, and Barn Red inks (in that order, lightest to darkest) to create beautiful fall foliage.

We stamped the "Family is Forever" sentiment by inking it up in Goldrush, then Autumn Terracotta, and then Barn Red ink, moving progressively across the stamp to create the fall/rainbow effect. I absolutely love doing this technique!  Finally, we used pieces of the Pathfinding embellishments assortment, gold shimmer trim, and gold sequins to embellish our layout.  I really love how it turned out!

I am linking up my layout to the Lasting Memories challenge #109 209, Autumn Colors.  Thanks for letting me share the highlights of this year's family reunion with you!

Monday, September 22, 2014

H2H Challenges: Favorite Tool

This month is "favorites" month at Heart 2 Heart Challenges, and this week's challenge is to share something you make with your favorite tool.  Of course it is super hard to choose!  I think Close To My Heart stamps are my favorite tool, but I am not sure that counts, so I chose my CRICUT instead!
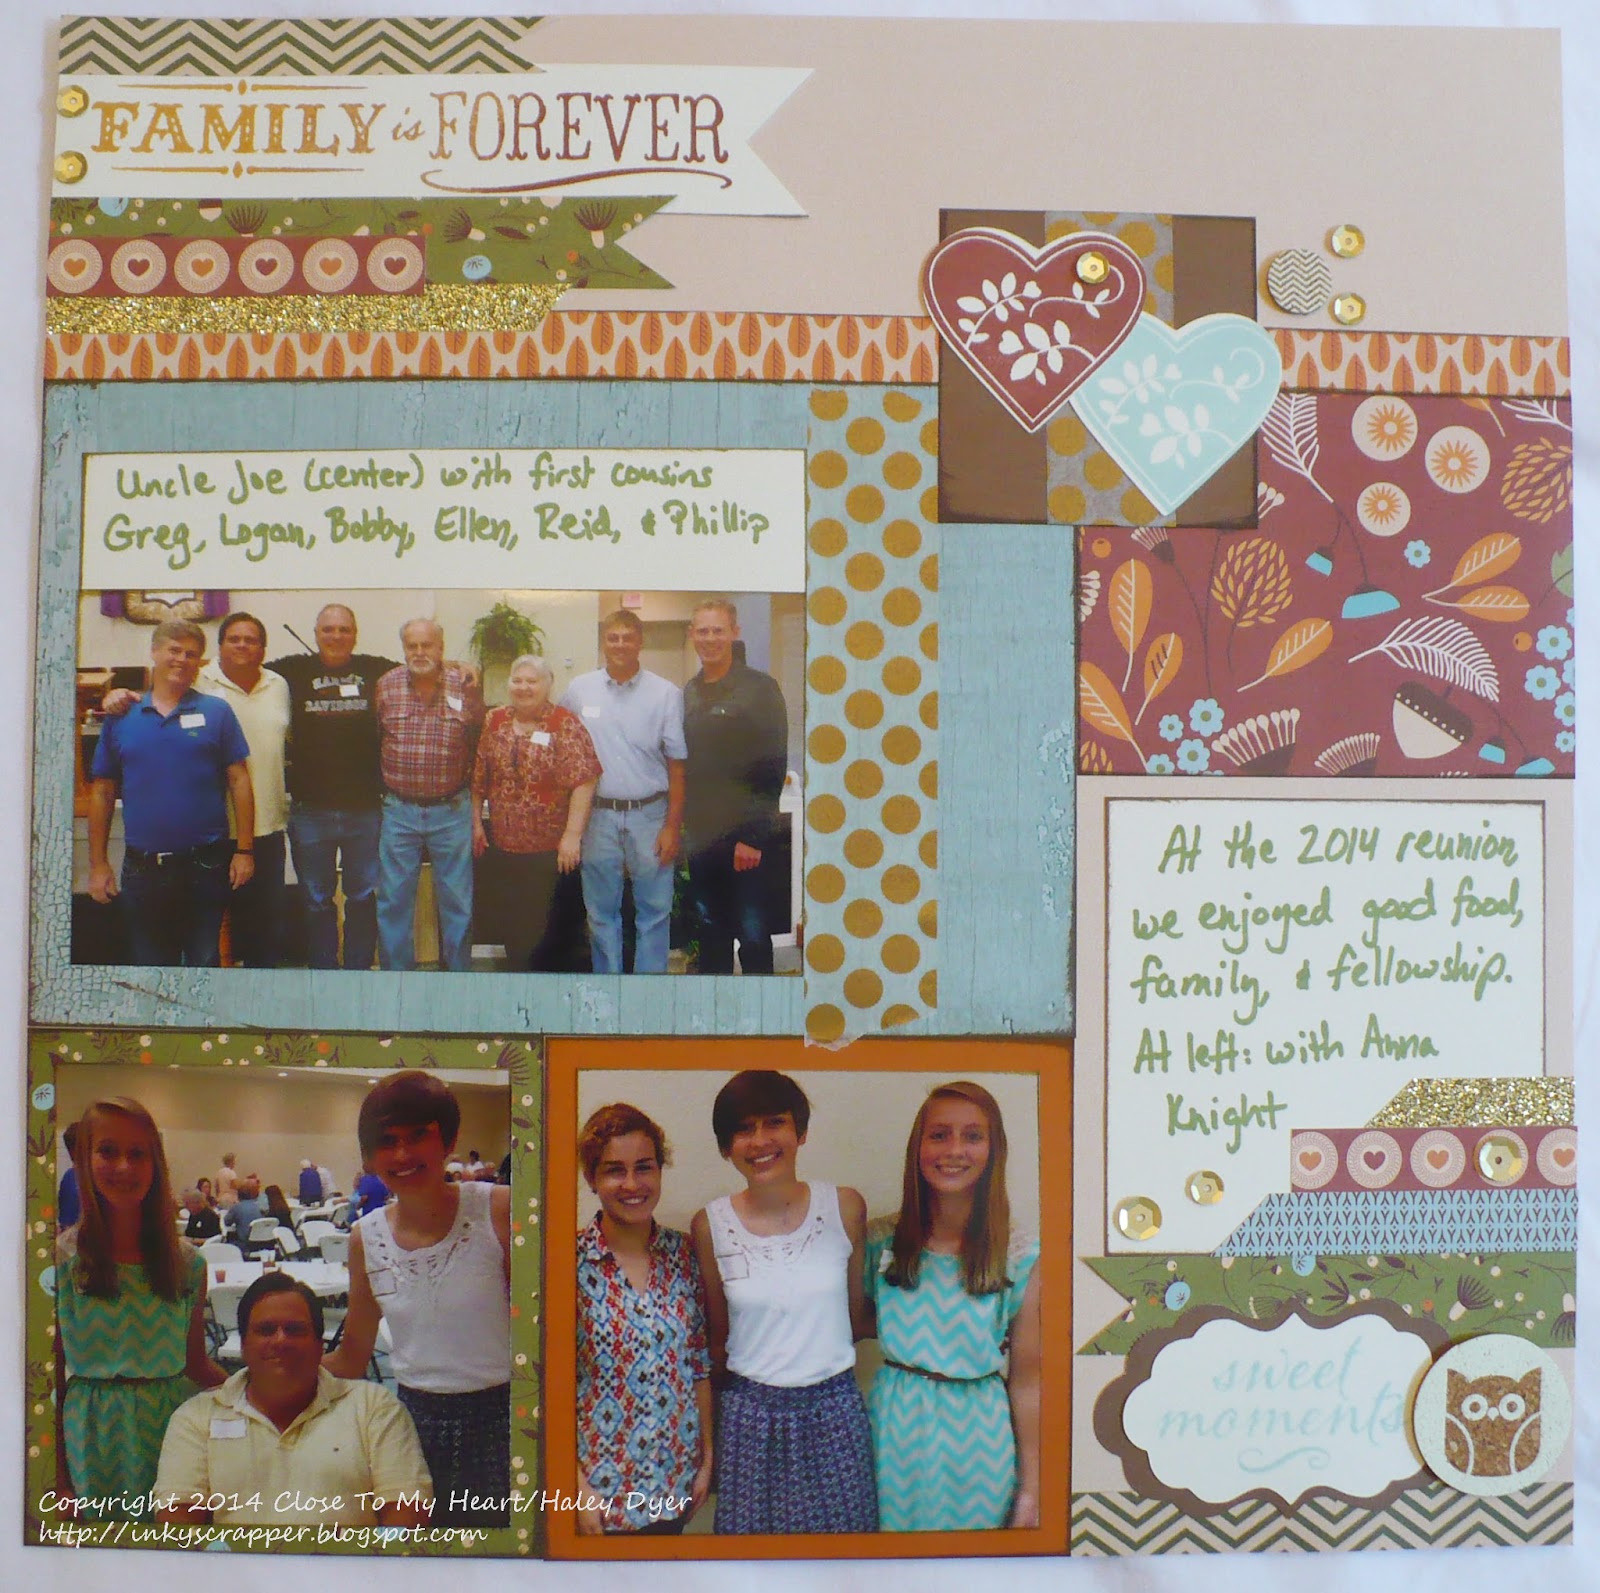
This layout showcases my daughters' hair transformations earlier this summer.  The youngest got the ends of her hair dyed a dark blue, while the oldest got 13" cut off!  I ended up liking the colors of the Wanderlust paper pack, so I went with it.  I used my CTMH/Cricut Artbooking cartridge exclusively on the layout.  I couldn't stick with just one key- I used several different "themes" to bring this layout together.
The #30yearsofhappy National Stamping Month stamp set was a fun way to embellish and accent this layout!  Please note how I used black Shimmer Trim and Flamingo Dots to accent my focal photo mats.
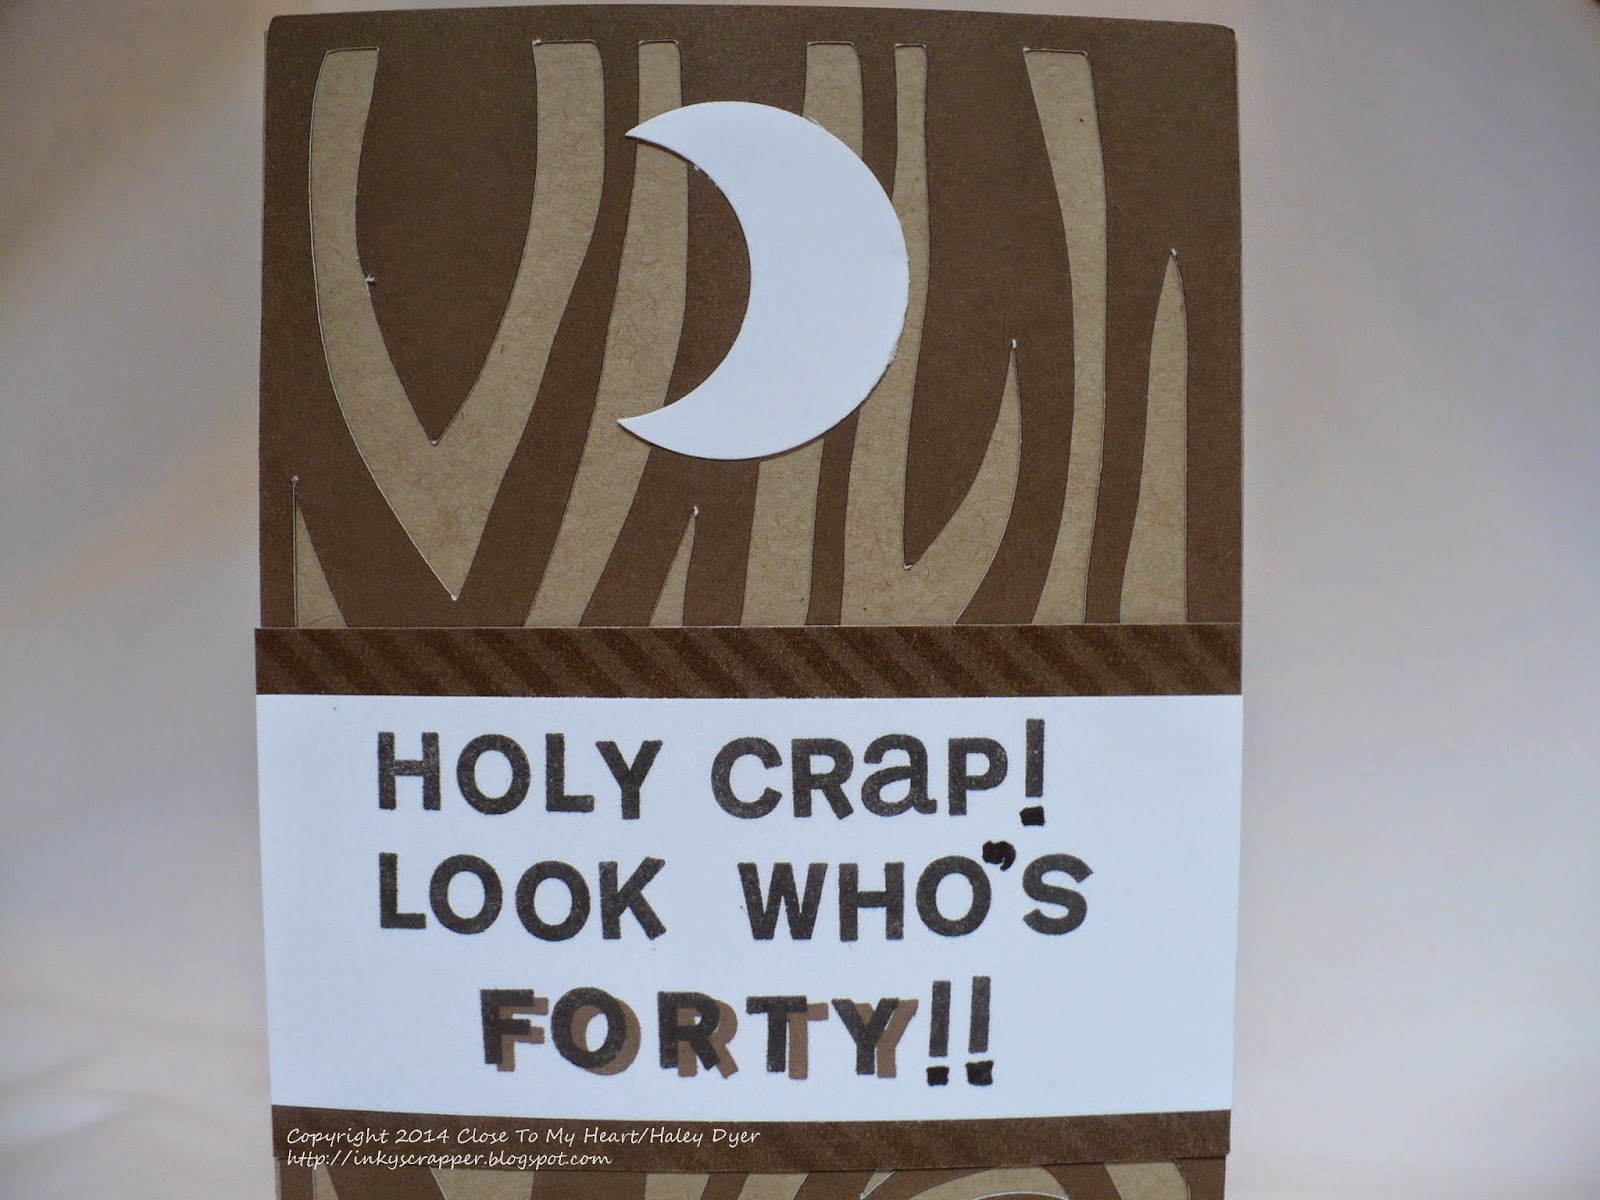
The cartridge cuts "Sassy Girl," but I needed it to be plural, so I just cut an S from the cartridge.  I think it looks great!  Since Ansley had said that it was time for a change, I thought the clock zip strip was a perfect accent.
The right page is one of the B&T patterns from the Wanderlust paper pack.  I did jazz it up with more black shimmer trim, Cricut Artbooking cuts, flamingo dots, and the stamp set.
 All I did to accent the pre-printed top left corner was add shimmer trim, a flamingo dot, and some arrow washi tape.
The bottom right corner took a little more time.  First, I used an exacto knife to trim the ticket and pennant so that my picture and mat would slip behind the pennant.  I used the same embellishments plus a "picture perfect" and "like" stamp.  That little clock is from the zip strip.  Too cute, if I do say so myself!

Now go check out the other H2H designers' favorite tools.  You can join us by linking to any of our "favorites" challenges through the end of September.  I hope to see you @ H2H!

Wednesday, September 17, 2014

Another Birthday!

We celebrated another family birthday recently (unfortunately with no pictures), and if you're going to be 83 than you deserve a pretty fancy birthday card (if I do say so myself).

I love making side stair step cards!  I have found that the 5"x7" size is easier to cut and gives you a bit more "canvas" on which to work.  (Click HERE if you'd like my tutorial with measurements to make one for yourself.)
For this one, I used the Confetti Wishes paper pack with its cheery color scheme of Canary, Thistle, Pear, Crystal Blue, Lagoon, and Pacifica, plus the CTMH/Cricut Artiste cartridge and birthday stamp set.  To embellish the card, I used some of our Lagoon heart washi tape and gold glitter gems, along with gold, silver, and purple shimmer trim.

Now, you may be wondering when CTMH started carrying blue shimmer trim, but sorry, we don't.  Your eyes aren't deceiving you either, because you can make your own!  Just color silver shimmer trim with the alcohol marker of your choice!  Let dry for a few minutes and then add some sparkle to your project.
Because the gift was a rather awkward size, I decorate the front of a plain brown paper grocery sack with a panel of stamped cupcakes (same stamp set and inks as the card) and a strip of the Confetti Wishes B&T.  The Lagoon washi tape isn't just for decoration!  It helped hold the panel on the front and (somewhat) helped to keep the present closed.

Because I love making this type of card, I am going to link up to Heart 2 Heart Challenge's favorite technique challenge

Sunday, September 14, 2014

40th Birthday Bash

We recently celebrated a few family birthdays with a low country boil at my sister's house.  One of the guests of honor was my brother to celebrate his big 40th birthday.  (How did my little brother get to be 40 already?!?  I don't even want to think of how old that makes me!)

(WARNING: If you're offended by "guy" humor, you may want to walk away now!)  I'll start with a few pictures of the birthday bash to give you a chance to leave.


My sister asked me to help her with the signage for his "beer cake," and we loved the way it turned out.


Finally, here's the "famous" card:
I have to thank my friend Lynn for the idea!  She found a card with this idea on Pinterest of course and then made the toilet paper roll for me as she made two for her.
The Chocolate wood grain was a leftover from a CTMH/Cricut Artbooking project that I didn't use.  I mounted it on a piece of Kraft card stock.  Since most outhouses seem to have a moon, I made one with a White Daisy circle that I then used my circle punch to cut a "bite."
I stamped the sentiment with the A Typeface alphabet.  I love the shadow effect you can make by stamping your letters twice in two different colors, slightly offset from each other.

Thanks for stopping by!  I hope that you've enjoyed my family's warped sense of humor.

Tuesday, September 9, 2014

#30yearsofhappy and Color Dare #109

This is a card that I am not in love with but that I still wanted to share.  I was trying something a little new, so I'd love to hear your reactions.  I knew that I wanted to use the National Stamping Month stamp set, #30 Years of Happy, and the Color Dare #109 color combo.

To begin, I cut six 1" circles on my White Daisy card stock with my CTMH/Cricut Artiste cartridge.  I then cut the card stock to make a 5"x7" card.  I took my colors and arranged them in rainbow/ROY G BIV order and then stamped an image from the National Stamping month special in each circle. From top to bottom, they colors are Canary, Pear, Crystal Blue, Lagoon, Pacifica, and Thistle. The card was too plain and simple so off I went to find painters tape for the painters tape technique.
Alas, I couldn't find our painters tape (and I KNOW that we have some!) so I thought about other ways I could add ink to my card front.  I didn't want to use another stamp set, so I tried inking up one of my long skinny blocks.  What do you think of the results?  I did embellish the card with some purple shimmer trim and a silver sequin.

I would love to hear your reactions to this card.  Thanks for leaving me a comment!

Monday, September 8, 2014

H2H Challenges: Favorite Stamp Set

Favorite stamp set?  Are you kidding me?  That's like trying to choose my favorite child or something!  Thanks a lot, Heart 2 Heart Challenges. ;)
I actually made a couple of cards with a couple of favorite stamp sets before I settled on this one using the Key Moments stamp set.  I used pieces of Seaside, Snowhaven, Yuletide Carol, and Scaredy Cat on this one card!  First, I used the postage stamp Artiste CTMH/Cricut cut leftover from another project for my pocket watch image (stamped in Black, Glacier, and Slate).  I outlined the edges with a black marker to make it pop a bit and stuck an epoxy bubble in the middle.

I mounted that on a piece of Seaside B&T on a piece of Slate Basic Fundamentals cardstock that I burnished with Slate ink.  The bar to left is Snowhaven B&T and a zip strip from Scaredy Cat plus silver washi tape.  The sentiment is mounted onto a little rectangle from Yuletide Carol.  I finished off the card with a few Silver self-adhesive sequins. 
Isn't this a pretty color palette?  Also, my card sketch is from Make It From Your Heart, Vol. 2.

Now be sure to check out all the H2H Designers' favorite stamp sets, and then show us a little CTMH love of your own.  You have all month to play along with our "Favorites" series!

Saturday, September 6, 2014

National Stamping Month Blog Hop: #30 Years of Happy

In honor of National Stamping Month and the #30yearsofhappy special stamp set, we are celebrating with a special blog hop!  (If you're already hopping then you've arrived from Lillian Yeh's blog.  You will go check out Amie Kiger next.)
Have you noticed the current nautical trend?  I love it!  (I guess that comes from living on a lake most all of my life?)  When I saw the anchor stamp in this set, I knew that I would be using it a lot.  I had so much fun designing this life buoy to pair with the anchor!  I started with a 2-1/4" circle that I cut with my Cricut.  I then used my 1" circle punch to cut out the center.  Next, I wrapped the Ruby washi tape around the buoy four times.  I then punched out the center again to get rid of the inside edges of the washi tape and used scissors to round out the outside edge.  Wrapping the Ruby baker's twine was a bit challenging and time consuming, but I had to have it on there!  The pretty Glacier B&T comes from the Seaside and Snowhaven paper packs.  A little silver shimmer trim and white epoxy dot were required for some bling, and the Ruby washi stripe really set off the card.
Complete Hop List HERE
Since there are 30 different stamps in this set, you are going to want to visit each blog along this hop.  (Of course you can come back here if you get lost on the way.)  Please leave me a comment before setting sail to AMIE'S BLOG!

LinkWithin

Related Posts with Thumbnails