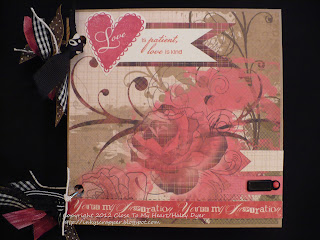
Before I began decorating, I used my 3-hole punch (you know, from the office supply store) to punch two holes in each card and each envelope. Using the 3-hole punch allowed the holes to be uniformly punched on each "page."
Here is the front cover:
Pages 1 & 2:
The envelope flap opened with the pull-out tag:
The right page opened up to make another layout (sketch from Imagine):
Pages 3 & 4:
The right side, opened:
Pages 5 & 6:
Opening the right envelope flap:
See how the flap will tuck behind the photo mat?
Pages 7 & 8:
The slide-out tag from page 8 (the card was turned with the flap at the top and then I cut off about an inch off the right side):
Page 9 (with the same tag from the photo above showing):
Pages 9 & 10:
Somehow I missed a photo of page 10 opened up to show the inside of the envelope and its pull-out tag! Finally, here is the back cover:
If you're still with me, I'll close with a picture of my hubby and me, because we also just celebrated our anniversary. We're looking forward to 44 years together, but it will be a while!


So cute! Love those papers. I want to see it filled with photos now...
ReplyDeleteOur new album is adorable. I will have a fun time filling it up with precious photos. Thanks sooo much, honey. It is perfect!
ReplyDeleteCongratulations to both couples on your anniversary days!
ReplyDelete