Friday, April 30, 2021

More Than You'll Ever Know, Daisy Meadows, and You Are Enough Wall Hanging

The More Than You'll Ever Know stamp set meets Daisy Meadows and You're Enough collections in a 8"x10" wall hanging for my girls' apartment that they'll begin sharing in August!

I used 3D foam tape to push up the sentiments.  I stamped the image first in Cinnamon and then stamped the pieces in Mint, Fern, Peacock, and Peach respectively.
Don't you love the rose gold foil on the You Are Enough collection?  The rose gold foil tape is retired but a perfect match.
Can you see the shimmer I added with Peach, Gold, and Clear shimmer brushes?  They add a nice touch in real life.

Don't be afraid to mix collections, especially when they share common colors!  Daisy Meadows is going tonight, so get yours before it's gone!  The other two are available through the end of May, while supplies last.


Daisy Meadows Scrapbooking Workshop Layout 3

How can today already be the last day of April?!?  That also means that today is the last day of the March/April idea book and all of the fun products therein (stamp sets will still be available).


Here is my version of the 3rd and final layout of the Daisy Meadows scrapbooking workshop.  My right page varies from the original because I chose to use five 4"x6" photos (which meant that I had to leave off an adorable gingham bunny that will get used on another project).  You may be wondering where the other two photos are.  They are hidden under the egg photo which will be attached with flip flaps.  The only other change that I made to the workshop instructions was to use shimmer brushes to spatter my background rather than watercolor paint.

If you need something from the March/April idea book, visit my website HERE, and come back tomorrow for a look at some fabulous NEW products available May 1!

Wednesday, April 28, 2021

Daisy Meadows Scrapbooking Workshop Layout 2

The workshops in the March/April Close To My Heart Idea Book are only available for a few more days, so be sure to get yours before they are gone!  (You can order HERE if you aren't already affiliated with a CTMH Maker.)  Here is my version of the second layout of the Daisy Meadows scrapbooking workshop.


This sweet white Pekin duck must have been turned out by someone a few years ago (along with a mate who is no longer with her), and having affectionately nicknamed her Daisy, of course I had to pair some of my photos of her with the Daisy Meadows scrapbooking workshop!  When I cut these workshops, I do not usually cut the photo mat pieces until I have my actual photos, because I usually tweak the recommendations.


These pretty daisy die cuts are exclusive to the scrapbooking workshop, as is the pretty patterned paper band.  The sticker sheet is available in the workshop or with the Daisy Meadows paper pack.


If you're a scrapper (or want to be), be sure to grab the current scrapbooking workshops so that you can quickly create gorgeous layouts!  All you'll need is adhesive, a paper trimmer, scissors, and a journaling pen to create gorgeous layouts.

Tuesday, April 20, 2021

National Scrapbooking Day Celebration Blog Hop

Close To My Heart is offering five amazing product bundles and two days of free classes (on April 30 & May 1) for our National Scrapbooking Day Celebration.  This blog hop features NEW projects made with these bundles.   (If you're already hopping, then you've probably arrived from Melinda's blog.  From here, you'll visit Darlys's blog next.)  I fell in love with ALL of the bundles and have so many ideas brewing!  My bundles arrived late so here are two cards that I have hurriedly created just in time for this hop.


For both of my cards, I used the More Than You'll Ever Know stamp set with papers from the Party Girl bundle (which is actually from May's upcoming You Are Enough special).  I also added Twinkle Toes holographic paper to both cards.  My first one used the Glacier foil paper paired with the current Daisy Meadows patterned paper.  I stamped my sentiment in Pewter, then highlighted the words with my Light Yellow Blend (light), Dull Green (medium), Green Turquoise Blend (light), & Pale Pink Blend (light) TriBlend Spectrum Noir markers.  I added a few Daisy Meadows dots to finish it.


For my second card, I knew that I wanted to use the Blue Bell rose gold foil cardstock from Party Girl (upcoming You Are Enough) so I grabbed my Love of Color color guide to select the combo of Blue Bell, Pewter, Wisteria, and Sangria.  I painstakingly masked my sentiment to ink/stamp in the four colors.  I added Wisteria ribbon along with the Twinkle Toes holographic paper and Blue Bell pearls.

Thanks for letting me share these two quick cards with you and hopping by!  I'd love it if you could leave a comment before you visit the talented Darlys next!

{Click HERE for all the hop participants and their blogs.}


Thursday, April 15, 2021

April Technique Blog Hop: Dazzling Dimension

The April Technique Blog Hop is focusing on adding dimension to your projects, and I have some cards and a scrapbook layout to share with you.  (If you're already hopping, then you've probably arrived from Michelle's blog.  From here, you'll visit Wendy's blog next.)  First up are my cards, which all use the Eat Play Love collection paired with the April stamp of the month, Scandinavian Folk Art Greetings.

My first card is for my fabulous sister-in-law.  I began by inking the two flower springs of the boot stamp in Lemonade and then inking the two foliage springs in Avocado then stamping the image onto the White Daisy rectangle.  Next, I stamped the boot on scrap White Daisy in Candy Apple then cut it out carefully.  I used 3D foam squares to pop the red boot onto the focal image panel.  I added some faux stitching with my black journaling pen to add a little weight to the panel and to have three pops of black on my card.

My second card uses a similar technique to create a bird house.  I stamped the house in Candy Apple on the main panel and then added the Lagoon cutout with 3D foam tape.  For the flowers, I stamped them first in Avocado ink on the main panel, then stamped the flower part on scrap with Candy Apple, fussy cut, and adhered.  Can you see the sparkle that I added for the bird house hole?

This card is my "chicken house" card.  I stamped the house in Toffee and then the bird in Lemonade on the main panel.  Once again, I stamped the bird on scrap, fussy cut, and added with a piece of 3D foam tape.  It was easy to ink up and stamp the "ME" of the sentiment, clean my stamp, and the ink/stamp the "HO" above it to spell home in a square instead of straight across my card.

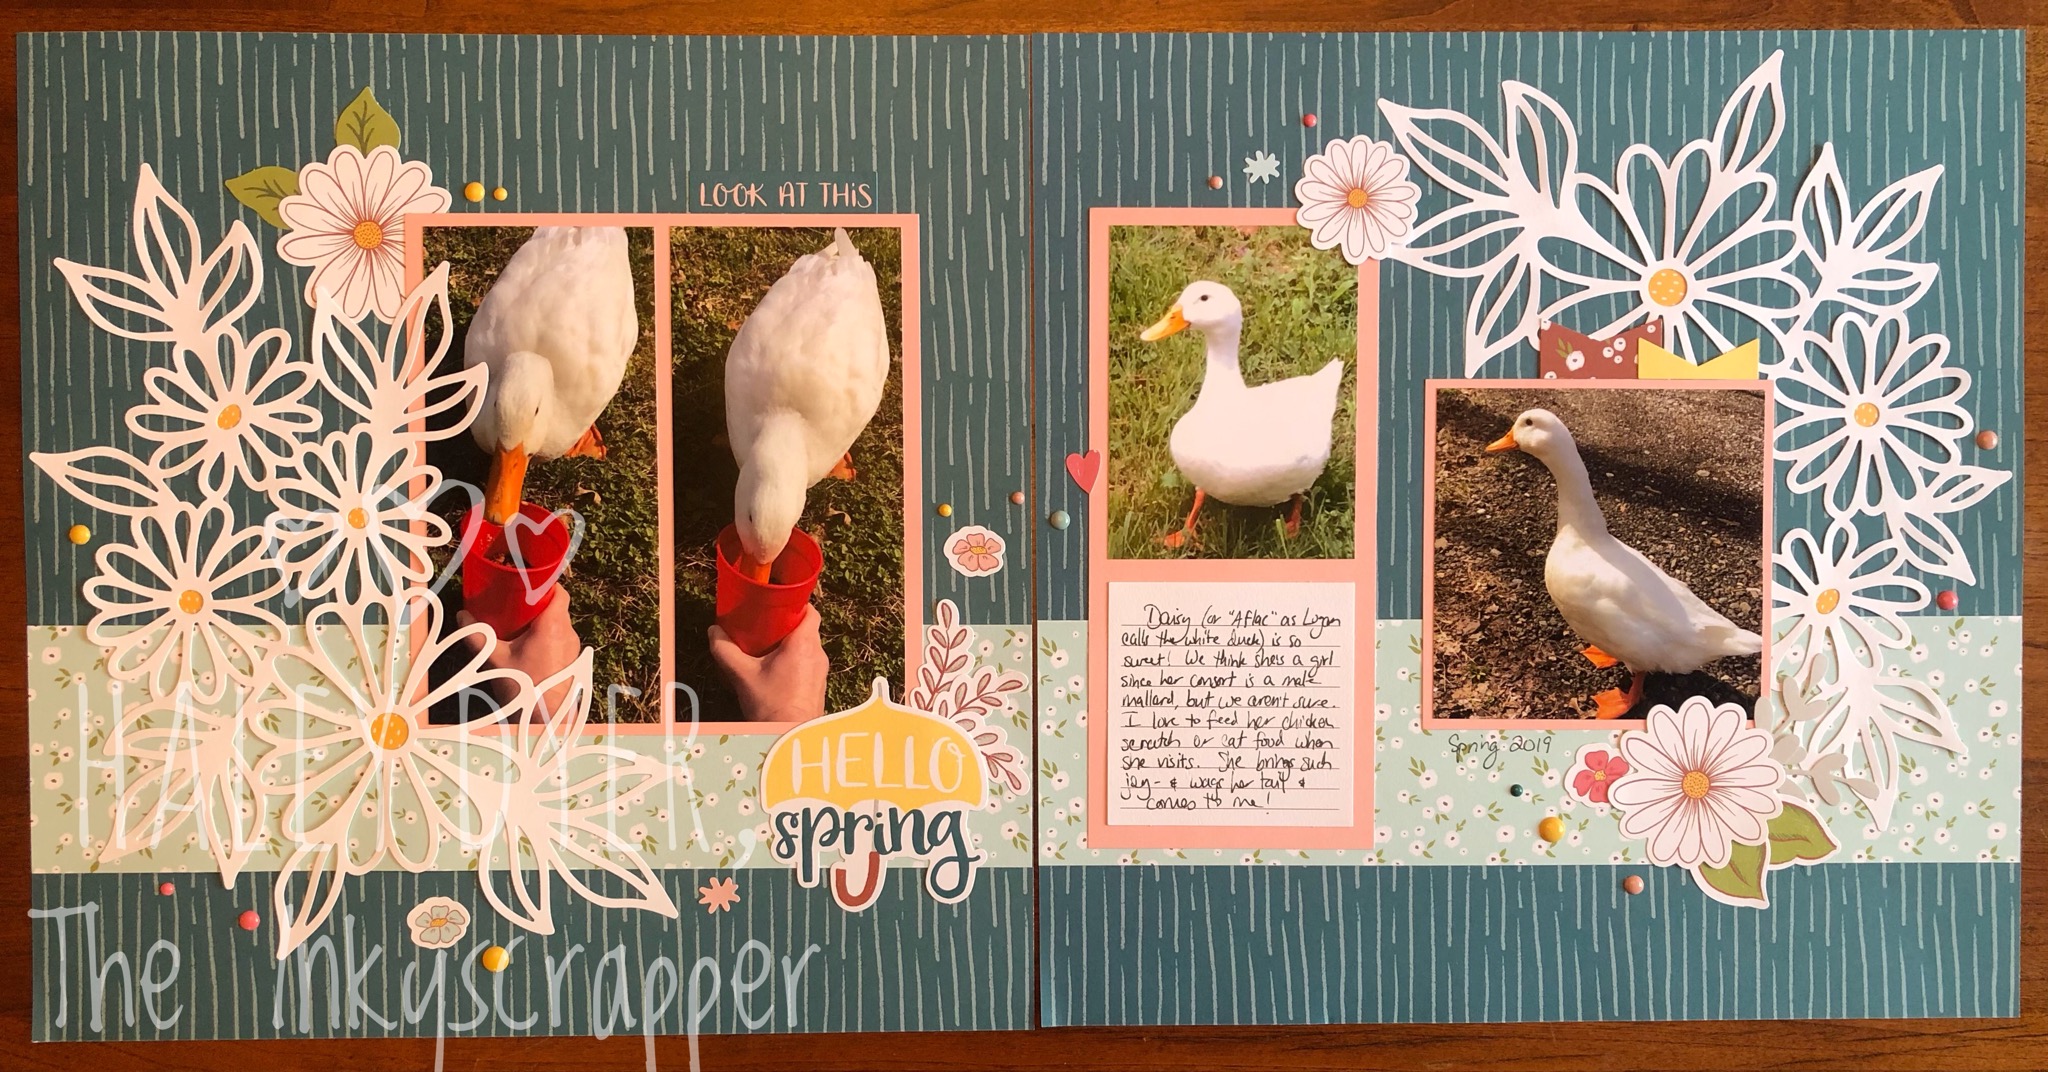
Finally, I have a layout share.  This first image is the "before" without added embellishments and dimension.

The "after" includes my title and dimensional embellishments:

I used my Everyday Wishes stamp set and Thin Cuts of my title and stamped images.
After stamping the "happy" frame on the Lemonade Thin Cut piece with Lagoon, I overstamped the "happy" outline in black.  I repeated the process on scrap Lemonade cardstock and then fussy cut each letter.  I used my thin 3D foam tape to adhere the letters on top of the frame.

It was fun to color parts of some of my Eat Play Love wooden shapes with my aqua Spectrum Noir Tri-Blend Marker (medium) to add further dimension and texture to my layout.


My final embellishment cluster used a combination of stamped image (stamped in Fern and colored with Spectrum Noir markers- even the bitty sparkle flower centers were colored yellow!), Eat Play Love wooden shapes, and black burst adhesives.


Thanks for letting me share these projects with you.  I hope I've inspired you to add some dimension to your projects!  I'd love a comment before you hop next to Wendy's blog to continue the Dazzling Dimension Technique Blog Hop.


Monday, April 12, 2021

Stamptacular Blog Hop

Close To My Heart is offering some amazing savings on stamps and Thin Cuts bundles this month, and this hop is highlighting some of our favorites.  (If you're already hopping, then you've probably arrived from Alyson's blog.  From here, you'll visit Brenda's blog next.)


For my *new* Stamptacular project, I couldn't resist creating a bird card!  I grabbed my Spruced Up Cardmaking stamp set and Thin Cuts to create a slimline (8"x3.5") card the Daisy Meadows paper collection.  I used Mint cardstock as my base and then cut the plaid Daisy Meadows patterned paper with my Fancy Cuts Thin Cuts.  I stamped my evergreen boughs with Peacock (first and second generation) on two die cut pieces and then stamped both of the chickadees/AKA goldfinches on Thin Cut pieces of Canary cardstock with Black ink.  I stamped the sentiment in black on the White Daisy banner and then added it on top of a Peacock patterned paper banner from the Daisy Meadows collection.  I finished my card off with a black burst adhesive gem.

Here are some other ideas that I've featured before on my blog but that also use current Stamptacular stamps.

Spruced Up Cardmaking:


Sweet Hummingbird:


Aurora Cardmaking:

Summer Vibes:


If you don't already have a CTMH Maker, feel free to check out all of the savings on my website HERE.  Note that many of the stamp sets are also available as a stamp set/Thin Cut bundle, so be sure to scroll all the way through all the goodness before you check out.

Thanks for letting me share some old and new projects as inspiration for this STAMPTACULAR blog hop and special!  Please leave a comment before hopping, swimming, or jumping on over to Brenda's blog next!

I'm also linking this post up to the Heart2Heart Challenges Old & New challenge!

Thursday, April 1, 2021

April Stamp of the Month Blog Hop: Scandinavian Folk Art Greetings

This blog hop featuring the Close To My Heart April stamp of the month, Scandinavian Folk Art Greetings, is no joke!  (If you're already hopping, then you've probably arrived from Brenda's blog.  From here, you'll visit Alyson next.)

I decided to play with the "window" stamp and stamped it in Toffee on four pieces of White Daisy card stock.  Then I stamped it again on scraps in Candy Apple, Lemonade, Avocado, and Lagoon to match the Eat Play Love paper collection.  I cut out each of the four windows in the four colors and adhered them to the Toffee windows to create the effect you see on these four cards.   
Here's a close up of one of them.  You'll notice that I cut of 3/4" of the right side of my card front and then added a 1" strip of Lagoon patterned paper to the inside of the card.  I also used a little wooden flower from the Eat Play Love wooden shapes.
I also recreated this card with only Lagoon stamping, and I think I might even like it better.  (It was certainly a lot faster!)


I am loving all of the images and have lots of ideas with this set!  I'm also wishing that I hadn't already scrapbooked our pictures from visiting some Scandinavian countries in years past.  I'd love to know which version of this card you prefer before you hop to Alyson's blog next.  Thank you!

{Click HERE for all the hop participants and their blogs.}


LinkWithin

Related Posts with Thumbnails