Showing posts with label Originals how-to guide. Show all posts

Tuesday, March 1, 2022

March Stamp of the Month Blog Hop: You're the Goat

The March Close To My Heart stamp of the month, You're the G.O.A.T., is so much fun!  I love a good pun (and I don't care if you judge me for that or not)!  Join me and our group of talented CTMH makers for a fun blog hop featuring this punny stamp set.  (If you're already hopping, then you've probably arrived from Show and Tell with Michelle's blog.  From here, you'll visit Darlys's blog next.)

I had a blast creating a set of four 3"x3" cards with the NEW Cake Day collection paired with You're the G.O.A.T.  (I love the tiny size of these cards because I often don't have a lot to write but want to give a heartfelt, handmade card.)

My first card features the cute frog in Candy Apple with the sentiment stamped in black.  I added Black Onyx Liquid Pearls to the eyes and as "gems" on the banner.

My second card uses a cute pattern from Originals.  (This sketch was actually from the second book, not the first.  Does anyone else remember the fab how-to guide, Originals?)  Again, I used Black Onyx Liquid Pearls to accent the eyes of this cool cat.

My third card uses another cute sketch from Originals.  I accented it with Wildberry glitter gems.

My finally card is another quick & easy card with the frog (or toad?) and sentiment stamped in Candy Apple, a zip strip, and black enamel dots.


Thanks for letting me share these fun and easy 3"x3" cards with you.  Please leave a comment before hopping on to Darlys's blog next!


Thursday, January 18, 2018

January Stamp of the Month: Bloom & Grow Good Thymes Card

When I saw these tulips for sale, I had to get them for my dear sister (in part because she used tulips like these in her wedding, and her anniversary is next month).  Of course I had to make a little card to go with it, and the January stamp of the month, Bloom & Grow, had the perfect sentiment.
I grabbed a little 3"x3" card base, Eggplant and Fern inks, and Enchanted Fundamentals scraps, and my Originals how-to guide for the sketch pattern.  I stamped the "Thymes" in Fern on scrap and then cut out.  I stamped the entire sentiment in Eggplant onto the 1-3/4" square which I then matted onto 2" Fern card stock. A little foam tape pops the "Thymes" portion of the sentiment.
I decided to add the little heart after second generation stamping it with Eggplant ink.  Isn't the Eggplant and gold ribbon (Enchantment collection) a lovely touch?

I hope the flowers and card brightens her days!  Remember, the January stamp of the month is only available until the end of this month.

Sunday, August 13, 2017

Jack Bear Card

The Jack collection will expire at the end of the month, so today I got to play with the Jack Workshop Your Way and the Jack - Cardmaking stamp set.
This card sketch is from Originals on a White Daisy card stock base.  After stamping the cute bear and his arms, I cut him out to attach to my card front.  I also stamped and cut out the sweet heart.  The embellishments are part of the Jack Workshop Your Way collection plus black shimmer trim.  The inside of this sweet card uses the sentiment "I love you more than I can BEAR."

I'm linking this card to the Three Amigos Jack challenge, the Color My Heart Color Dare #256, and the Heart2Heart Challenges Camp Out.

Monday, February 22, 2016

H2H Challenges: Party Animals

The final February Heart 2 Heart Challenge is "party animals!"  Isn't that a fun theme?  Since we haven't had any wild and crazy parties lately, I decided to create a card with the Close To My Heart February stamp of the month, Balloon Animals.
Isn't this a fun card?  I used the new Penelope paper pack with its bright, springy colors of Crystal Blue, Honey, Pear, Pixie, and Thistle.  (Well, I didn't actually use Pixie on my project.)  I started with an 8"x3.5" Crystal Blue card base and a sketch from Originals.  Each square measures 1.75", so each balloon animal is partly off the square.  I alternated them left-facing and right-facing with my B&T panels in rainbow/ROY G BIV order.  I think the purple shimmer trim, blue epoxy gems, and green triangle embellishments add a little sparkle without too much bulk.

Be sure to check out all of the H2H Designers' projects this week.  You have until the end of the month (Leap Year!) to link up to ANY of the H2H February challenges, so please join us, and happy crafting, you party animals!

Monday, February 15, 2016

CTMH Technique Blog Hop: Kissing Is for Stamping

Valentine's may have been yesterday, but the Technique Blog Hop is bringing you some awesome KISSING techniques today!  You may think you already know all there is to know about kissing, but I bet you'll learn something along this blog hop!  (If you're already hopping and reading up on your kissing technique, then you should have arrived from Tammy's blog.  You'll go to Tonya's blog next.)  What is kissing in the stamping world, you might ask?  It is basically pressing (or "kissing") two stamps together.  You can add or remove color with this technique.  For my projects, I chose to add color.  Here's what I mean:
I decided to make 3"x3" cards featuring the kissing technique with the February stamp of the month, Balloon Animals.  I "kissed" these cuties with stamps from the Charming Cascades stamp set to get the "polka dots" that you see on each stamped image.
For my first card, I chose a sketch from Originals called "Top It Off."  Because the giraffe was too big to fit on the 2.5"x1.25" panel, I knew that I would cut it with an "off the edge" technique so I started with a much larger piece of White Daisy card stock.  I inked up the giraffe balloon animal in Honey and the polka dot stamp from the Charming Cascades in Chocolate.  I carefully pressed the giraffe onto the polka dot stamp.  (I had the large polka dot stamp inked up face up on my work space.)  Be careful because when both stamps are inked up they are slippery!  Then, using my paper trimmer I began to trim down my panel to the requisite size and then fussy cut the head off the edge.  I mounted that piece onto a piece of Chocolate card stock.  On the Honey card stock 3"x3" card front, I repeatedly stamped the "It's Your Day" stamp in Chocolate.  A scrap of Honey Fundamentals card stock, some bronze shimmer trim, a random (non-CTMH) flower, and a retired Rosewood brass gem finished off this cute card.
For my second card, I wanted to use that cute puppy dog, so I inked him up in Glacier and then pressed him carefully onto the stars from the Charming Cascades set that was inked up in Sapphire.  This card uses the Middle Ground sketch from Wishes and the Regatta paper pack.  The blue epoxy gems match much better in real life!  Doesn't this card remind you of how boys are made of snips and snails and puppy dog tails?  I like the patriotic stars with  Regatta anchors, and I hope you do, too.
Last up is my girly bunny card.  I inked up the bunny in Pixie and then kissed it onto the Charming Cascade hearts that were inked in Pomegranate.  This card sketch is Layered Look sketch from Wishes and uses the La Vie en Rose paper pack.  I embellished it with the last of my pink epoxy gems.

Thanks for hopping by!  I hope you've enjoyed my kissing technique.  I'd love to have a comment before you leave, but then you can go see what TONYA has created.  I promise not to kiss and tell! ;)

Saturday, August 1, 2015

August Stamp of the Month Blog Hop: FRAMED!

The August stamp of the month, Framed, is one of my favorite stamp sets!  I have had so much fun playing with this set that I don't even know where to begin.  You're going to find several ideas here, plus all along our monthly Stamp of the Month Blog Hop.  (If you're already hopping, then you should have arrived here from Terrie's blog.  You'll hop to see Michelle's project next.)
When I saw all the cool frames and sentiments in the Framed stamp set, I knew that I wanted to try to create a background with one of the frames.  This card was made especially for my brother, whose birthday is today!  (Happy birthday, Brian!!!)  I used a card sketch from Originals and started with stamping the frame with Glacier ink in the center of my Colonial White panel, and then I easily lined up the clear stamp to stamp again to the left and the right of the main frame.  I used the notches of the stamp to help me line up my stamping for the top and bottom rows.  Since I was using the Jackson paper pack, I stamped the birthday sentiment in Cocoa in the center and then accented it with Ocean sequins.  Finally, since he's learning to play the guitar, I embellished with the metal guitar from the Jackson assortment and tied it off with some chunky Glacier twine.
Click HERE for all the hop participants and their blogs.
I have a more feminine birthday card to share with you later this month, but today I wanted to include a recap of a few birthday cards I made with the August stamp of the month, Framed, that I have shared previously here on my blog in case you missed them.  This next one is a patriotic birthday card that I made for a Yankee Doodle Dandy of a friend on her Fourth of July birthday.  (Complete details HERE.)
Another friend just turned 17, so I made this fun card for her.  (Complete details HERE.)
Thanks for getting FRAMED with me!  To see the rest of the great FRAMED ideas, click to go to Michelle's blog next!

Sunday, June 21, 2015

Camper Crazy Father's Day

Here are two cards that I made to celebrate my Dad and my husband this Father's day.  They both use the Jackson paper pack and the Camper Crazy stamp set.  I used a blending pen to color in accents on each and added a few Ocean sequins.
This first one was for my Dad and included the Tag the Occasion stamps set.
The second is for my husband and included a set of binoculars from the Jackson Assortment.

It has been a great day!  I didn't get any pictures because Hubby is under the weather, but we had a nice day anyway.  Happy Father's Day to all the dad out there and all the men who have stepped up to act as dads should!

I'm linking up both of these to the Heart 2 Heart Man, Oh Man challenge.  Thanks for visiting!

Thursday, August 7, 2014

World Traveler Cards

Traveling is apparently in my genes, and I am a sucker for great travel-themed crafty goods!  Of course I fell in love with Close To My Heart's new Wanderlust paper pack collection and the World Traveler stamp set.
My first card measures 8"x3.5" and uses a sketch from Originals.  How do you like the new Flaxen color?  I am seeing this shade pop up everywhere!  I am loving our new Black Arrow washi tape too!

My next card was super fun to make!  When I saw the "snap" stamp, I knew that I had to combine with the "Oh" from the sentiment!
For this card, I stamped "Oh" and "Snap" in Honey.  I hope that you can see the sparkle for the camera's flash and the silver washi tape.  The card uses a sketch from Wishes.  Here's a little close up:

Be sure to check out the tons of great ideas using NEW CTMH products in this link up!

Click HERE for great ideas!
Thanks for traveling by!

Monday, May 12, 2014

H2H Challenges: It's a Banner Day

This week's Heart 2 Heart Challenge is a theme challenge called It's a Banner Day!  My new Camper Crazy stamp set just arrived, so I had to use the camper with the pennants already on it.
After stamping it in Cocoa (to go with more of my Free To Be Me scraps), I colored it with Juniper and Cranberry inks and my blending pen and then colored the pennants with Cranberry, Juniper, and Sunset markers.  If you look closely, you can see the feather vellum on the background.
This cute card pattern is a sketch from Originals.  I still have lots of Free To Be Me paper left, so who knows what I'll make next.  Be sure to check out all the H2H inspiration and share your banner day with us.

Wednesday, July 31, 2013

A Chocolate Affair: August Stamp of the Month Blog Hop

What could be better than chocolate?  Crafting with chocolate perhaps?  Check out the Close To My Heart August stamp of the month, A Chocolate Affair, and this sweet blog hop.  (If you're already hopping, then you should have arrived from Elizabeth's blog.  After enjoying my delectable creations, you'll head on over to Michelle's blog.)
My mind was still on the Heart 2 Heart Challenges Ombre challenge, so I grabbed several of our yummy browns: Champagne, Cashmere, Desert Sand, and Chocolate.  Isn't this a great sketch from Originals?  I am so excited that the card how-to guide is available again (as of 8/1/13!)  If you look closely, the top square comes from the new Frosted paper pack, and the second square (plus the long strip) come from Huntington.  Aren't they beautiful?  How about that gorgeous bronze shimmer trim?  I couldn't leave my treats plain, so I jazzed them up with some Almond glitter glitz gel.
Of course, this is one card that is way prettier in real life.  Also, don't worry if your Cashmere and Desert Sand look the same when you stamp them.  As they dry, they will show their true colors.

Now, on to my next project:
I also used A Chocolate Affair to help preserve my 36th birthday.  (And yes, I'm way past that birthday!)  It was easy to line up the stamps across the bottom of the layout, lay my long block on top of them to pick them up, ink them up in Champagne ink, and then stamp away.


The Claire paper pack is now retired, but it might show up sometime in the "While Supplies Last" section of my website.


CTMH is even sweetening the pot this month!  With a minimum $50 order, the August stamp of the month will be FREE!

Now, go check out Michelle's chocolate-y treat!

Monday, July 2, 2012

H2H Challenges Patriotism Meets JUGS Stars & Sparkle!

Today I am super-excited to share the first July challenge from Heart 2 Heart Challenges!  First, it's a great one with one of my favorite subjects: patriotism.  However you would like to interpret that subject is fine by us as long as you use some Close To My Heart products on your project.  (Remember, we have a new challenge each Monday, but you have all month to play along.)  Second, we are introducing a brand new design team to you this week!  Please visit the H2H Blog to check out our new gals and their great work!  They are sure to inspire you these next six months.

Also, if you noticed from my title, Just Us Girls has a "wild card" challenge (#143) going on right now: stars and sparkles.  I think this card has the stars, stripes, and spangles for both challenges.

If this card looks a little familiar to you, it's because I made it with pieces leftover from my recent card class.  I used the Superhero paper pack and a card sketch from Originals (retired).  You can't see it well in the photo, but I misted the main panel with Sky ink before overstamping it with the music score from the Universal Backgrounds stamp set in Moonstruck.  The Cranberry heart is stamped with the large circle design from the American Celebration stamp set.  The blue and red stars were also cut with the Cricut Art Philosphy cartridge.  (The red one is covered in Red Glitter Glitz Gel as is the zigzag stripe on the border.)  The kraft Milestones corrugated cardboard shape was distressed with Sky ink.  A Cranberry sparkle and knotted grosgrain ribbon finish off the main panel.  I then highlighted the stars and a few stripes on the bottom pieces with Liguid Glass for more shine.

Thanks for taking a look at my patriotic card.  God Bless the USA and happy Fourth of July!  Take some time to get crafty this holiday week and link up your projects to the H2H Challenges blog and/or the Just Us Girls blog.

Friday, June 29, 2012

Summer Card Class Recap

Recently I taught a summer themed card class with eight lovely ladies in attendance.  (I'll have to get copies of Ann's photos of all of us!)  We were please to welcome a brand new stamper to the cult club. LOL

We kicked off our class with a celebratory Americana card using the Superhero paper pack.  Techniques included basic stamping, rock 'n roll inking/stamping, paper piecing, and direct-to-paper edge distressing.  The kraft star is from the Milestones cardboard accents collection.  This card sketch comes from the Originals book.

We kicked it into relaxation mode with this Just Chillin' card.  We misted the background with Sky reinker/alcohol in our cool little mist-its.  The "sand" is from the Footloose paper pack.  All the stamped images are from the Just Chillin' stamp set, and we practiced sponging and tearing plus more paper piecing.  The gals were excited to create a scene on their card.  The finishing touch was a bit of Stardust glitz glitter gel.  This card definitely makes me want to kick back and relax!  (Hubby wanted me to try to make a little drink to go on the arm of the chair.)

This little 3"x3" card is a sweet addition to a little gift or just a little thanks.  We used the June stamp of the month, Life Is Tweet, plus Sweet Leaf and Colonial White cardstock paired with the Roxie paper pack, Smoothie and Sweet Leaf inks, and Smoothie baker's twine.  Can you see how we paper pieced the center sentiment?
 This last card is probably my favorite.  We started with a die-cut 8"x3.5" card base (sold in packs of 10 with envelopes) and dressed it up with the Life Is Tweet (June SOM) stamp set and the Stella paper pack.  Again, we paper pieced the birdie.  Here's a little close up:
If you life in the north Georgia/western Carolina/eastern Tennessee area and are interested in stamping, card making, scrapbooking, or paper crafting in general, look me up!  Life is definitely "tweet!"

Sunday, June 17, 2012

Happy Father's Day!

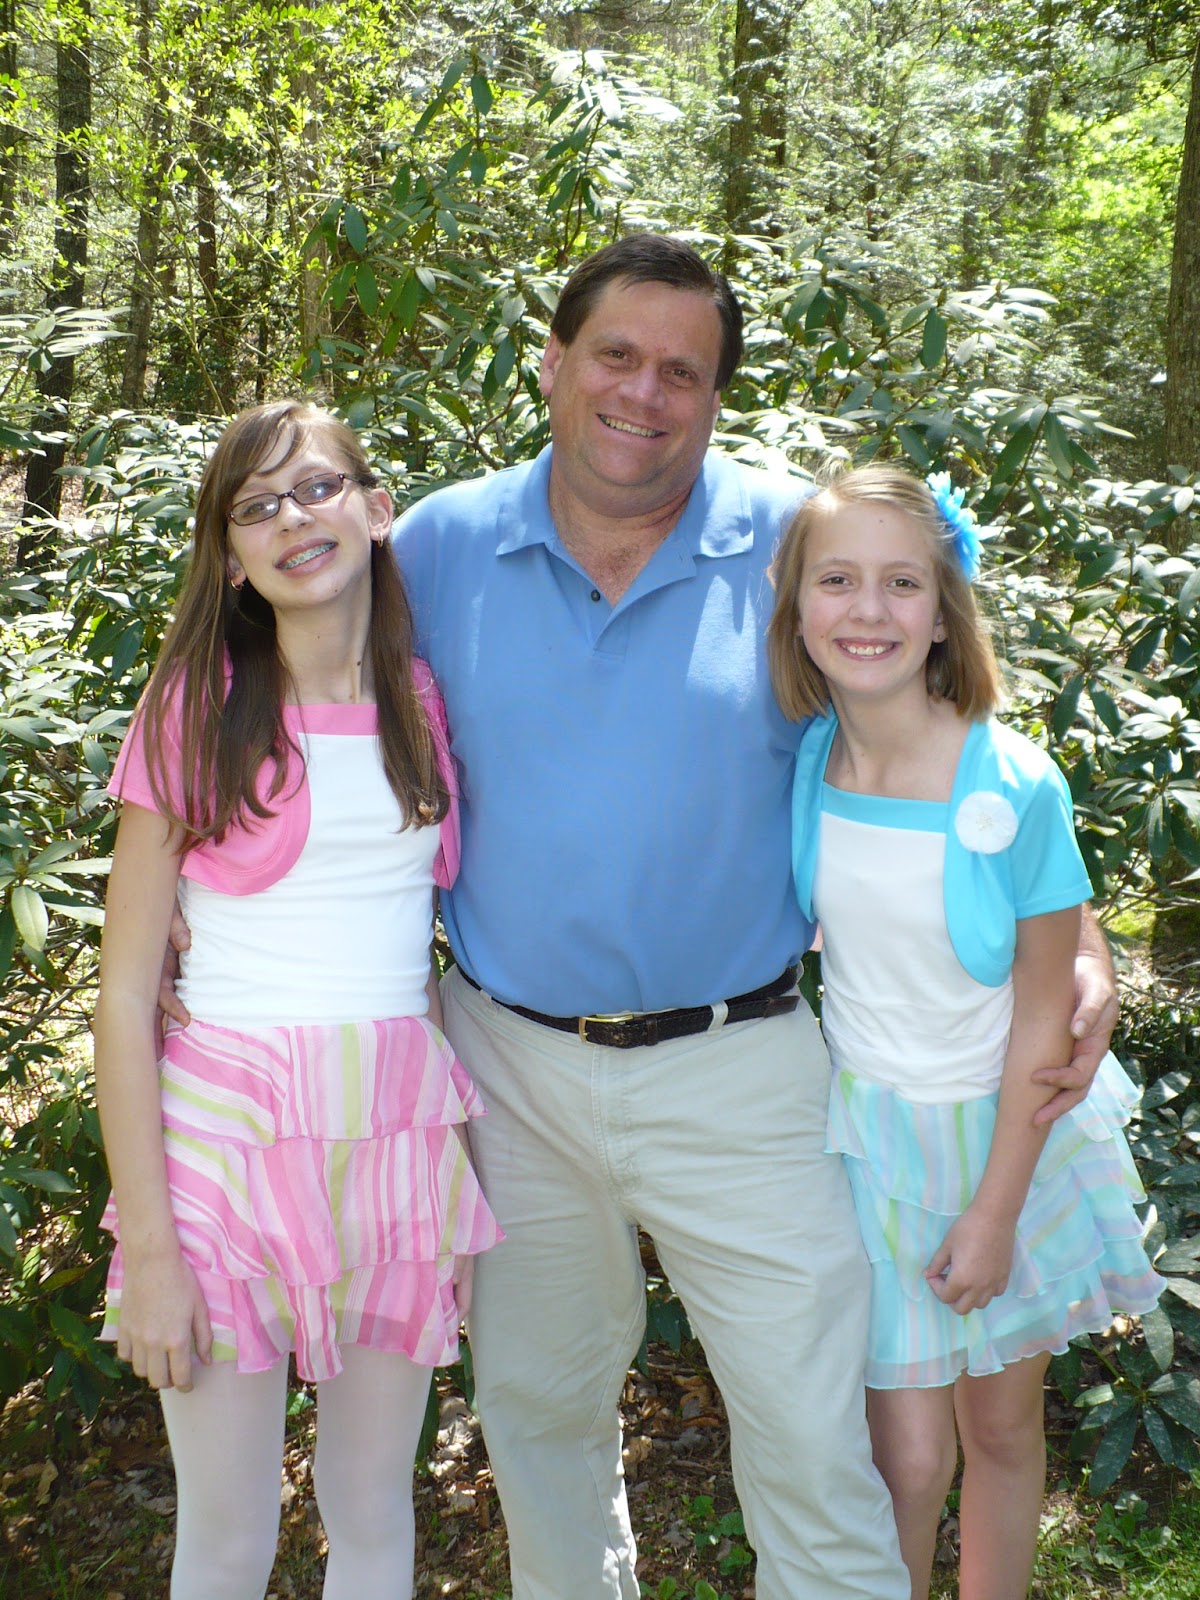
Today, I'd like to wish a happy Father's Day to all dads, especially to those who take the time and effort to be a true father to their children and to those who "step in" to make a difference in the life of a child (blood relative or not). I have been truly blessed with a terrific father of my own and a great father to my children! (Here they are at Easter.)

Now, here is the card that I made for my DH to thank him on this day for all that he does for his girls.  If you're interested in the card details, it's a sketch from Originals (no longer available) using the Florentine paper pack with the Family Love and Tag the Occasion stamp sets.  Color-ready cork shapes and Durables Studs accent the card.  (It is really easy- and fun- to stamp on the cork.  I love how well the color goes with the Florentine paper pack.)

If you've created a Father's Day project with any Close To My Heart products, consider linking it up to the Heart 2 Heart challenges blog.  We'd love to see your work too!

Happy Father's Day!

Friday, June 15, 2012

CTMH Product Spotlight Blog Hop: Stamp Your Own Designer Paper

For this month's Close To My Heart product spotlight, we're showing you how to stamp your own designer paper!  These ideas couldn't have come at a better time with the Stampaganza Buy 2, Get One Free stamp sale going on right now and the retiring stamps list also announced.  If you're starting here at my blog, hopping is easy: just click on the link to the next blog to hop around.  If you're already hopping, then you should be arriving from Lori's blog, and you'll visit Wendy next.  We have about a half doze consultants showcasing stamping techniques, so you'll enjoy hopping along.

My first card uses the Family Love stamp set.  (You'll be seeing more of this great stamp set if you'd like to stop back soon.)  I used some of the smaller stamps to stamp the Twilight strip and the Cocoa bottom portion.  Here's a hint that helped me with the Cocoa piece: starting at the top with the rectangular tile stamp, stamp it in the center and then stamp to the left and to the right to make the first stripe.  For the next row, stamp to the left and right of center.  For the next, row, begin in the center.  Continue with this pattern so that your piece is balanced.

To make the sentiment frame, I first inked up the stamp in Twilight and then rolled it in Cocoa ink.  I quickly stamped it onto a piece of Colonial White cardstock that I cut with the Cricut Art Philosophy Cartridge.  (I also cut the mat from a piece of Florentine B&T.)  The flower was also cut with the Cricut on the same B&T.  (I used my fingers to bend the petals to give the flower some dimension.)  A Mocha Opaques adhesive pearl finished it off.

This next card has a rustic feel to it thanks to the A Journey and Universal Backgrounds stamp sets.  I started with a Colonial White card base.  I stamped the wood grain stamp from Universal Backgrounds with Chocolate ink to completely cover the card front.  On the Olive piece, I stamped the trees in New England Ivy in first and second generation.  Tearing that piece also added to the rustic feel.  On the Outdoor Denim piece, I used the same color ink to "walk" the shoe tread stamps across that piece.  Again, the sentiment piece was cut out using the Cricut.  It's actually a square base, but I tucked the rest of it behind the Olive strip.  I am loving the Durables Studs as fun, hardy, masculine embellishments!

Both of my card sketches are from the Originals how-to guide.  (Unfortunately, this guide is no longer available, but I am expecting some exciting how-to programs in September!  We'll see then if my prediction is correct.)

Now, it's time to go check out Wendy's stamped background on her beautiful layout next!  I'd love to know what you think of my cards before you leave.  Thanks!

Wednesday, May 23, 2012

Teacher Thank Yous

Today is the last day of school!  Every year, I have a hard time believing that the end is really here.  This year is particularly bittersweet.  I've had a great class, and I'll hate to see them go!  Also, our school system cut ALL teacher workdays (and of course our pay), so we are trying to get everything done before the kids leave because today is our last day too.  You would not believe the amount of work that goes on "behind the scenes" to wrap up a school year!

I am pleased to report that both girls have had really good years.  I am in a total state of disbelief (and shock?) that our big girl will start high school in a few short months while her little sister will start at the middle school.  Not having one of my girls at my school (practically next door this year) is going to be really hard on this momma for sure.

We made sure to make thank you cards to show our appreciation to our teachers for a great year.  Because I had eight to make, I kept them fairly simple.  The girls wrote their own messages of gratitude on the inside.

(On a side note, I am also sad to see a favorite student graduate this year!  He has come to visit me every Christmas and end of the year since he left me in fifth grade.  It means more than he will ever know that he has taken the time to show me, year after year, that I made a difference in his life.  That is absolutely what it's all about, dear readers!  Go thank a teacher today yourself, because you know there's at least one out there who greatly impacted your life.)

The card for the academic teachers includes a panel from an old children's novel that had seen much better days.  (I promise it was already falling apart.  No books were harmed in the making of these cards!)  The two music teachers' cards feature the music stamp from the Universal Backgrounds stamp set.

I created these thank you cards with two challenges in mind:
  1. The Cupcake Craft Challenge 193, Book Lover, to use a book image or text on your project (I used pages from an actual children's book, plus I think a lot of book lovers also love to play Scrabble, hence the other patterned paper.)
  2. The Dynamic Duos #3 Black Tie Week, pairing black with Daffodil Delight (or in my case, CTMH's Honey)

Thanks for looking!  Now let summer officially begin!

Sunday, March 27, 2011

Sensational Seasons Cards: Babies or Easter?

Aren't these bunnies sweet? At 4.75"x3", I think this card would make a great baby gift enclosure card, either with Peter Rabbit's twin or Mama Bunny. These cards all use the "Center Accent" sketch pattern from Originals and were all colored with watercolor pencils.

You may be asking, "What are watercolor pencils and how do they compare with regular pencils?" You can use them just like you would regular colored pencils, or you can add water to blend them. I love how they look blended with water! (I used a waterbrush with mine, but a blending pen or thin paintbrush would work too.) I think that even though it takes two steps (color w/pencil and then w/water), because you don't have to color really carefully that it kind of negates the time of two steps. Give them a try and you'll see what I mean!


Of course I had to use an Easter basket full of eggs too. Because I knew I would be blending the eggs with water, I did not color all the details separate colors. I'm not that good with my waterbrush!

LinkWithin

Related Posts with Thumbnails