The May stamp of the month is a great set of sentiments that you can use year round. Join this blog hop for great ideas! {If you're already hopping, then you've probably arrived from
Krista's blog. From here, you'll visit
Janet next.}
I made this double-easel fold card for our daughter's 19th birthday (tutorial info below) using the new Aurora paper pack.
The balloon shaker window was supposed to highlight the gorgeous northern lights paper but didn't do that as well as I had hoped. I stamped the sentiment in Sapphire. I wish you could see how pretty the Lagoon clear acrylic arrow is in person!
Here you can see the main front panel with the folded part pulled down. I drew the balloon string and then added Sapphire crochet thread "bow." Don't you live the
silver star confetti in the balloon shaker window?
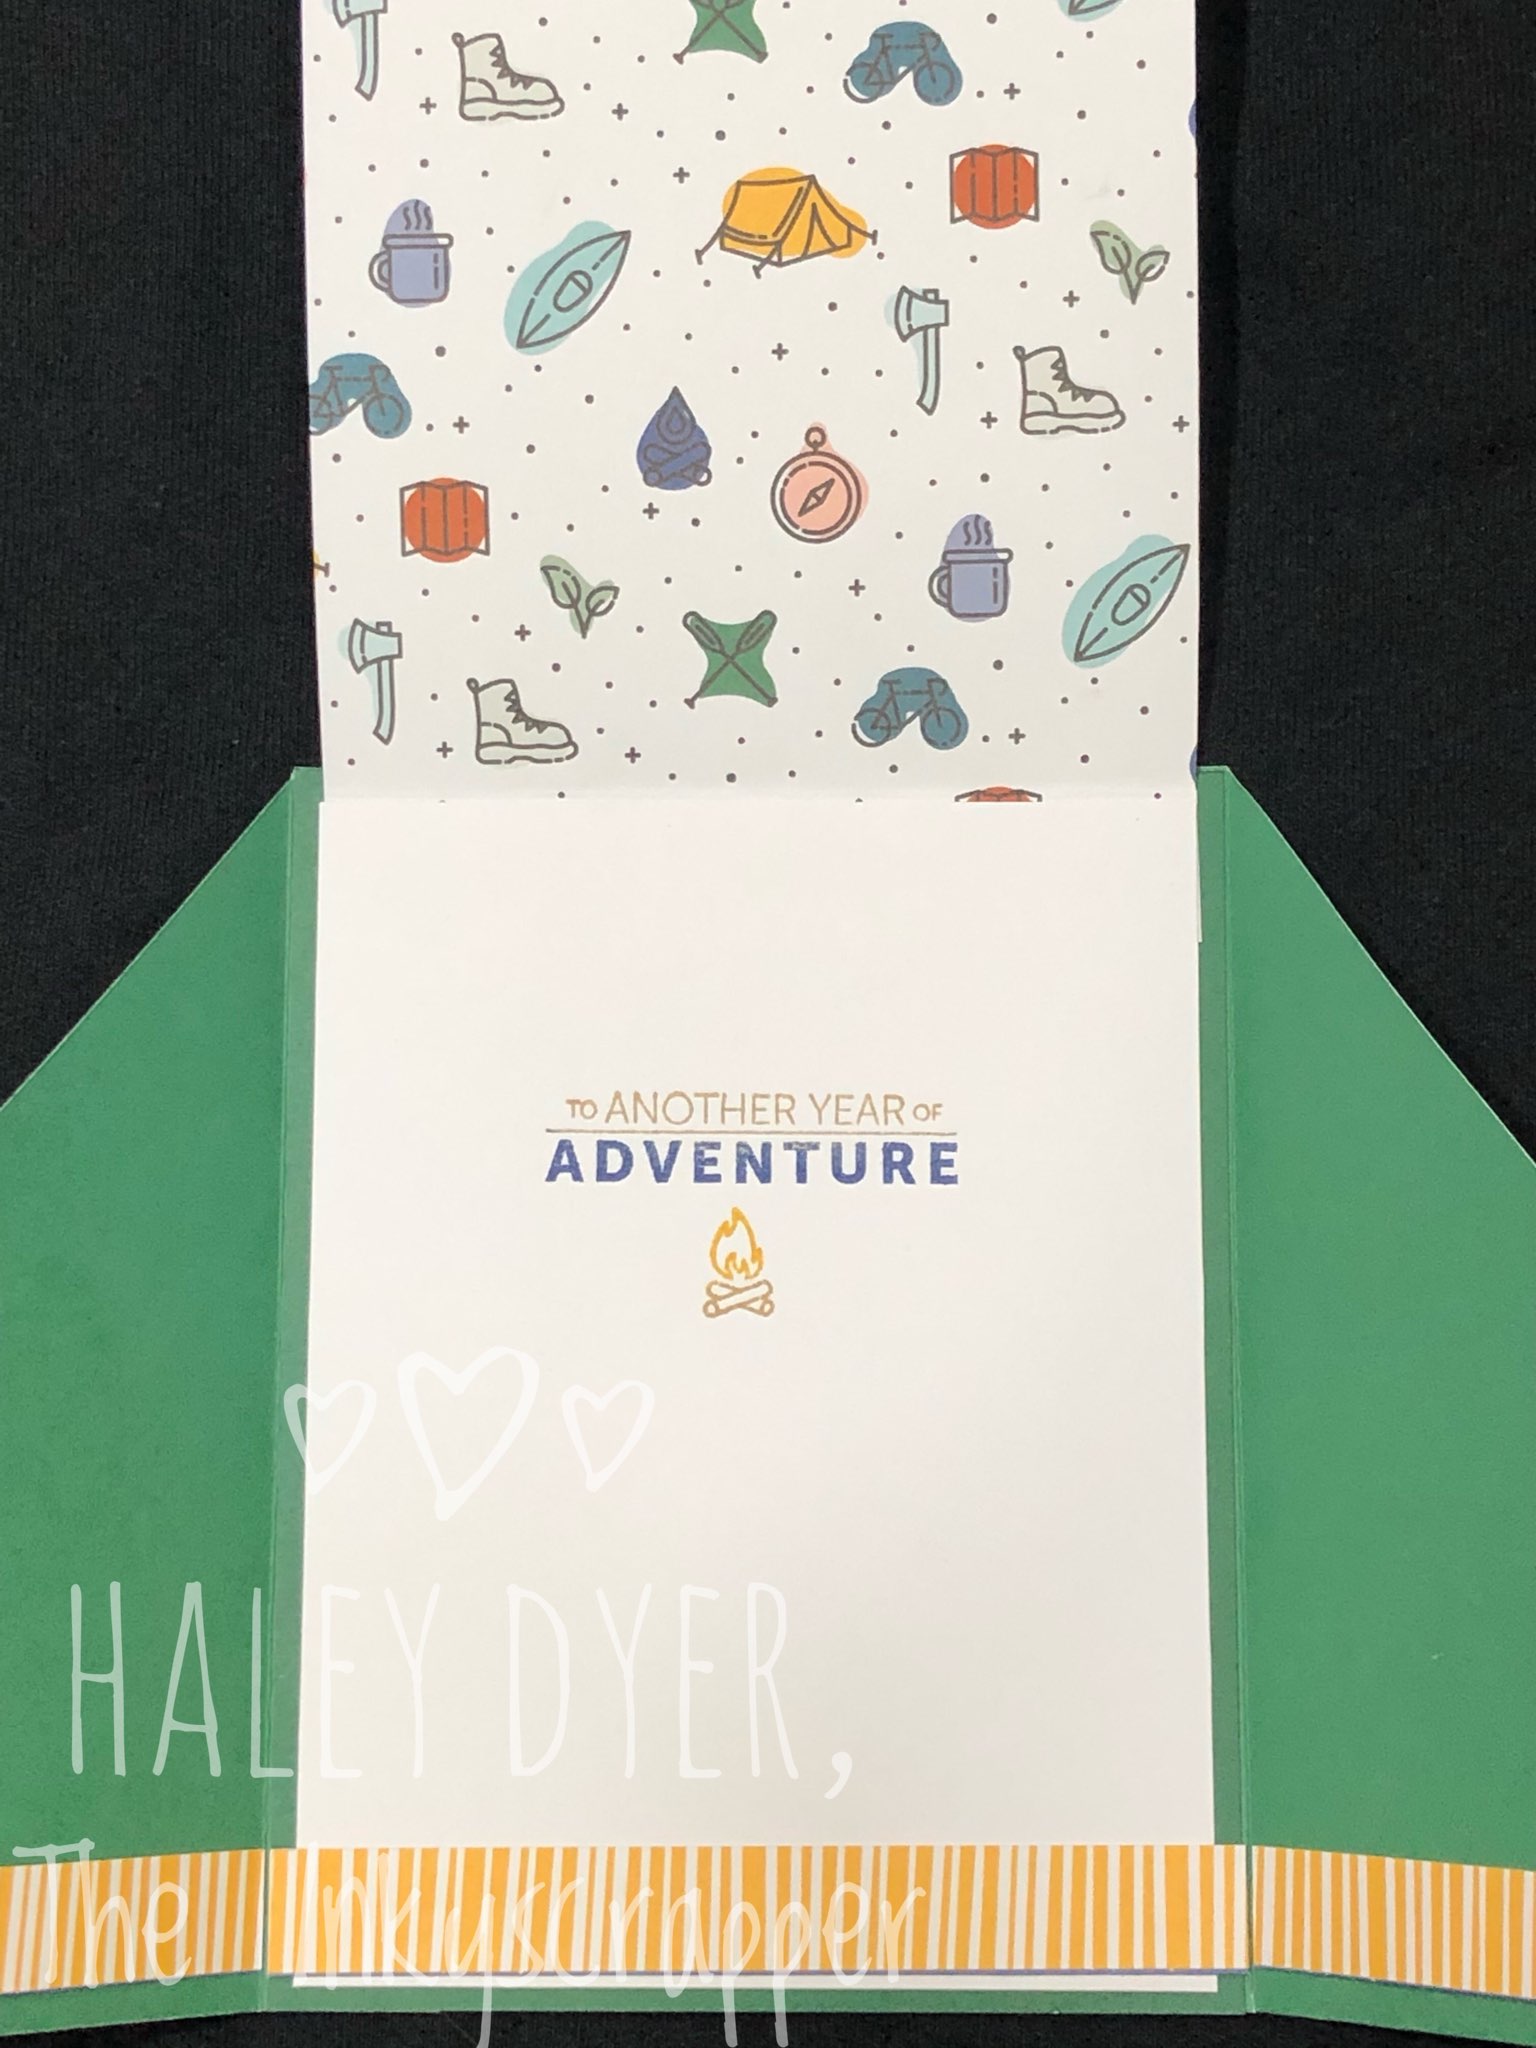
I framed the inside panel with more of the northern lights pattern and stamped the sentiment in Sapphire and Evergreen.
If you're not interested in the tutorials, I'd love for you to scroll to the bottom to leave a comment and then go visit
Janet's blog next on the hop.
To create the double-easel fold card, I started with a piece of 4-1/4"x11" Evergreen cardstock that I folded in half to make a top-fold card. (You can enlarge the photo below to see the pieces and dimensions also.) The front folded panel is a piece of 4"x10-1/4" Sapphire cardstock scored at 5" and 2-1/2". The patterned paper was 3-3/4"x7-1/4" that I cut into two pieces, 3-3/4"x5" and 3-3/4"x2-1/4".
For the Sapphire panel, fold the "middle" score up in a valley fold and the smaller piece down in a mountain fold. If you're not making the shaker "balloon," then don't cut the circle out of the patterned paper front panel.
I thought I would use a balloon Cricut cut for my birthday balloon but didn't like any of my choices. Instead, I used a circle Thin Cut placed where I wanted the balloon to float. On the Sapphire base, I added a square of the northern lights paper that I used Sapphire, clear, and Wisteria shimmer brushes on to add more sparkle.
Because our
shaker window foam and acetate kits are much larger than I needed, I used the next larger circle Thin Cut and cut the size I needed from the original acetate circle. At first I thought the acetate had cracked, but when I peeled off the clear film backing, it was perfect! Next, I placed my cutout circle where the window should be and then built my circle of 3D foam tape to contain the glitter around the cutout.
Next, I removed the cutout circle guide, peeled off the foam tape backing, added in the
silver mini star confetti, and adhered the acetate circle. Finally, after drawing the balloon string, I added the front decorative panel over the window. (Next time- if there is one- I will use foam tape across the top of the panel to help offset the depth of the balloon.)
Thank you for letting me share a part of our daughter's quarantine 19! Thank you in advance for taking the time to leave a comment before you hop on over to
Janet's blog to continue the May Time to Celebrate blog hop.
 |
| {Click HERE for all the hop participants and their blogs.} |