Showing posts with label congrats. Show all posts

Tuesday, April 28, 2026

Cap & Gown Graduation Card

It is graduation season, and I taught or know about 75 graduates this year because I was their 3rd grade and 4th grade teacher (I got to team teach with an awesome teacher, and we looped up with our class), and then moved to 5th grade.  Here is a special card that I made for a special graduate.

Our school colors are purple and gold, so I used Gorgeous Grape and Crushed Curry cardstock and DSP.  Fortunately I have some 5"x7" envelopes in my stash, because the folded card measures 4 1/4" x about 6 1/2".
I love how this card can stand up to look like a cap and gown.  (Note how the April Product of the Month, Eyelet Bloom die, made this gown look more feminine.)
The bottom strip is a pocket to hold some graduation cash.

The sentiment is from the Greetings for All Mix & Match ephemera pack, which is on low inventory status and will probably sell out soon (if it hasn't already).

I'm sharing my typed instructions HERE.  You can find the original directions/inspiration for this card HERE.

Monday, July 10, 2023

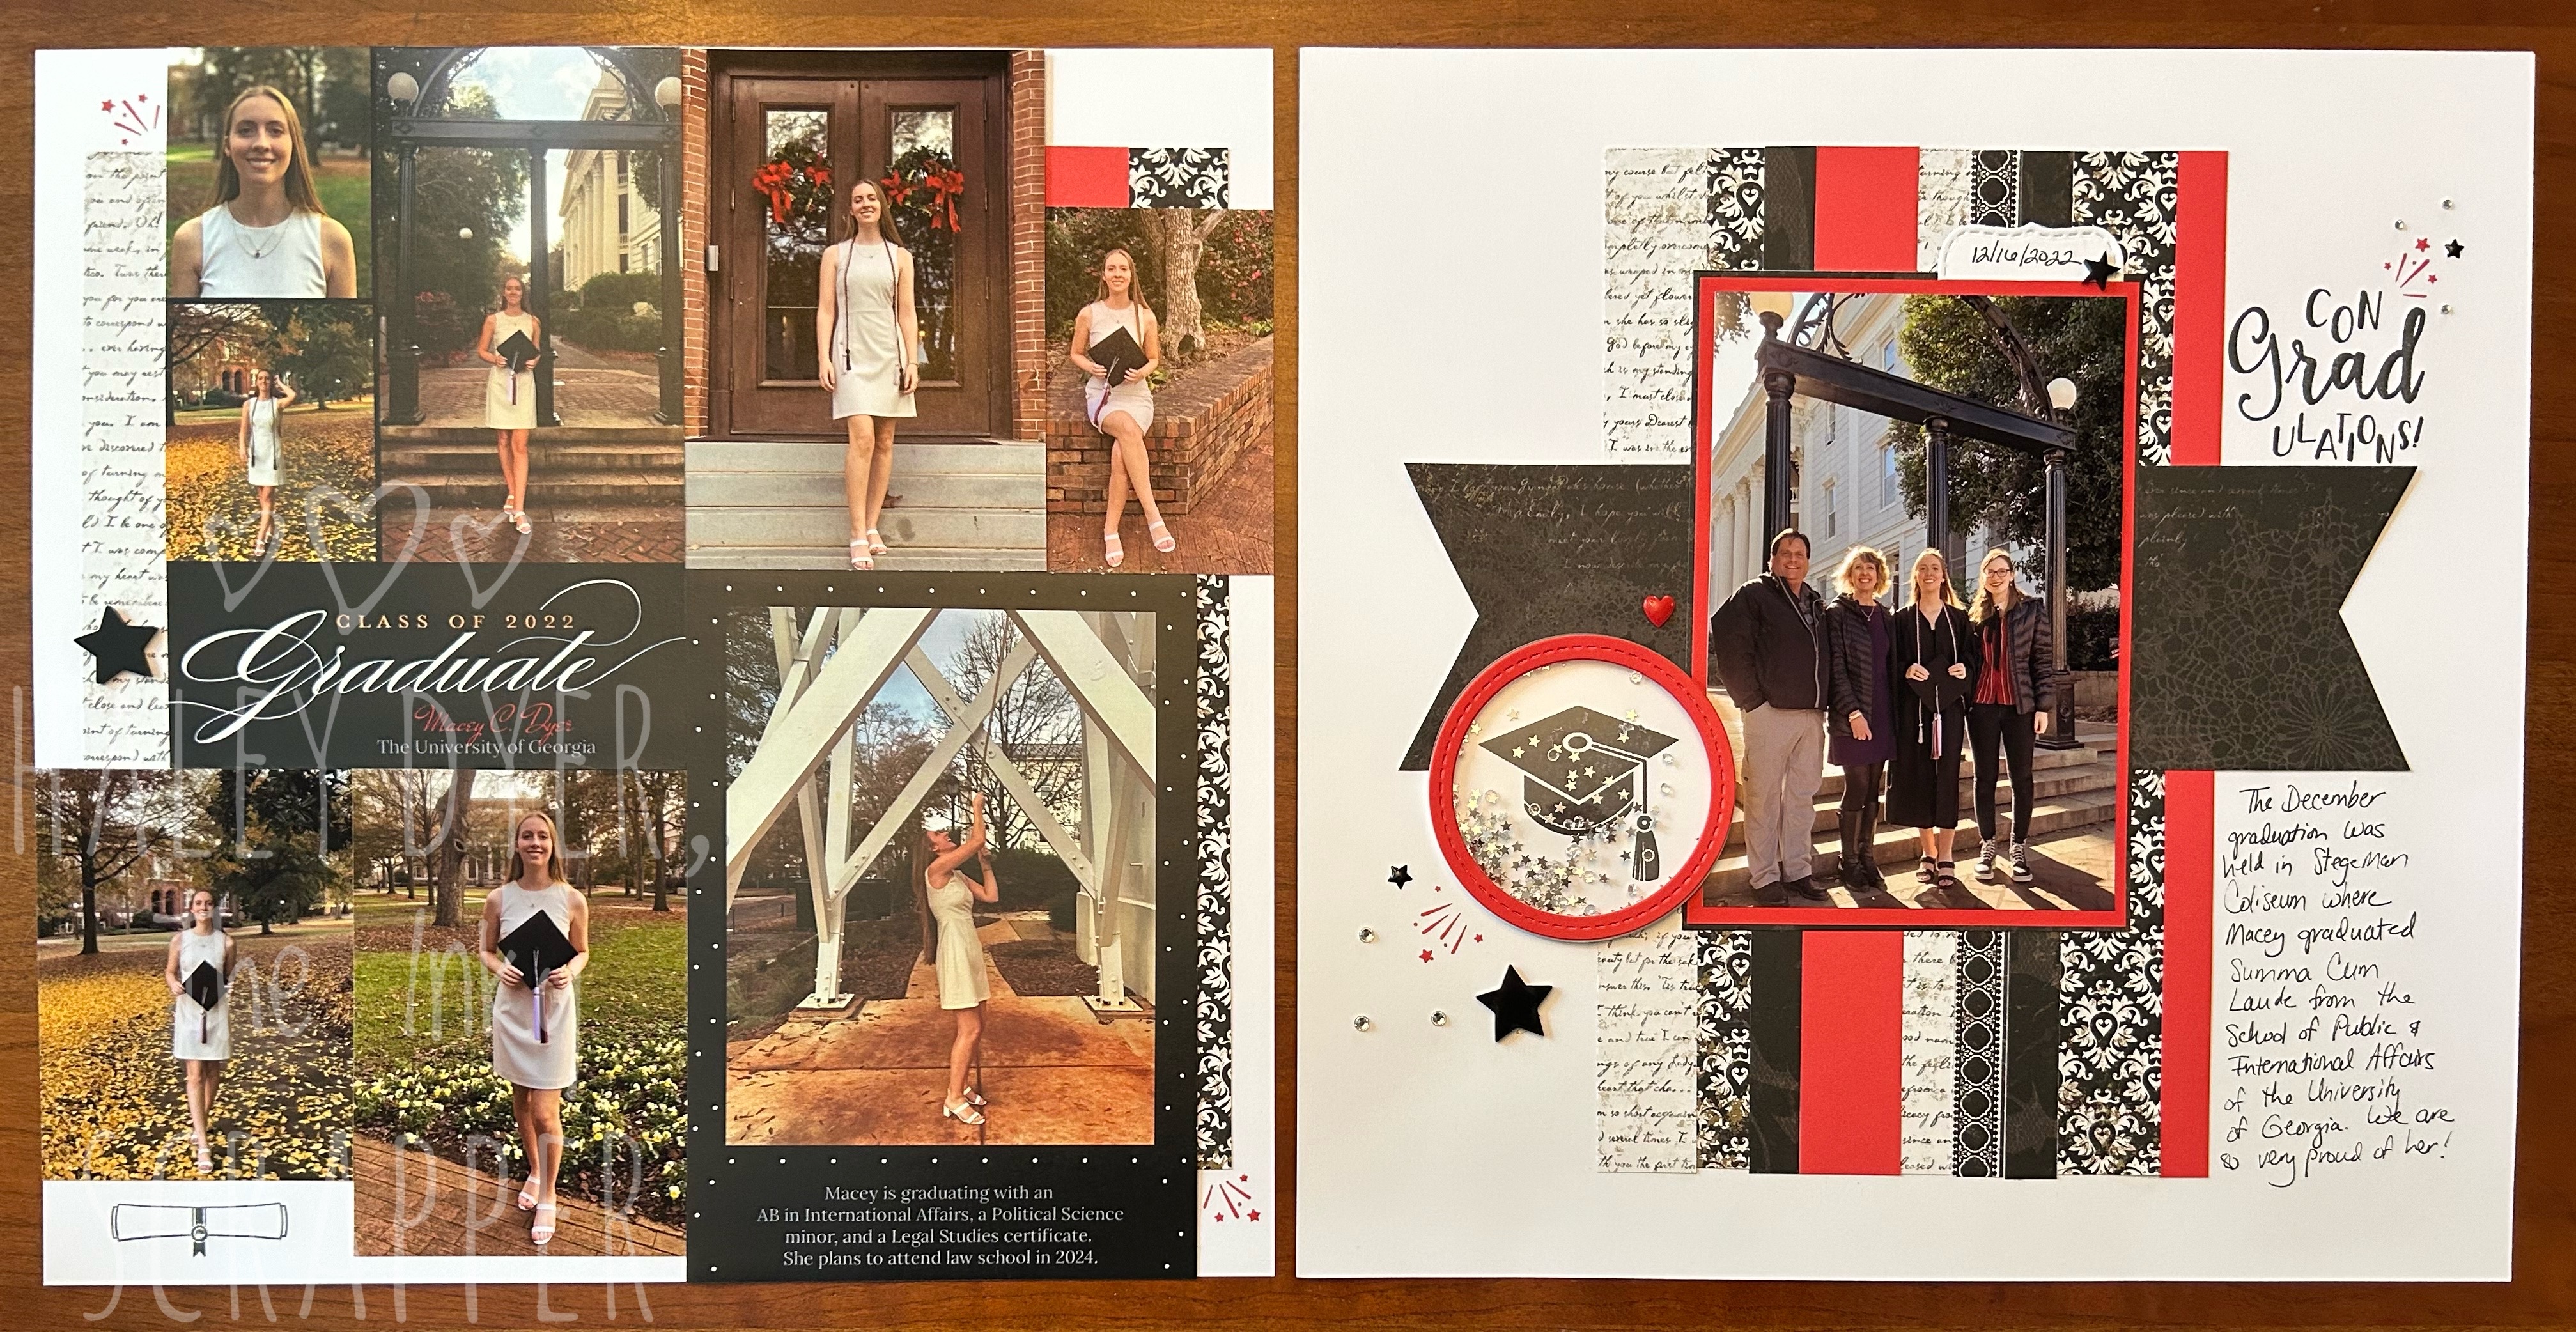
UGA Graduation Layout #1

Our younger daughter earned her BA from the University of Georgia in December, and the Bring Back My Pack For Always collection was perfect- with a pop of Candy Apple red.


I used two of her graduation announcements and photos from her graduation photo shoot to make a collage on the left page.


The right page uses the Make It From Your Heart, Volume 5, Pattern 2 and a retired graduation stamp set.


I love the fun of the shaker window!  (In hindsight, I probably should have used gold star confetti, but silver is fine too.)

We are so proud of our girl!  This layout is going in my family scrapbook, and I will be making layouts for her scrapbook.

Wednesday, June 15, 2016

Graduation Party

As you probably know, our daughter graduated from high school recently.  One of her friends' mom has the great idea to throw a joint graduation party for the kids rather than 10 separate ones.  When one of the moms suggested a superhero theme, we were hooked!  I made photo centerpieces and card boxes for each of our superhero graduates.  I used my CTMH/Cricut Artfully Sent cartridge and some current and retired CTMH papers to make their individual superhero "shields."  Here are the boys' boxes.
We rented a room with a kitchen at our local state park, Vogel, and had fun decorating with the superhero theme.

One of the moms used her Cricut to make superhero initials to put on a cape for each kids.
Here's my awesome graduate with her amazing cape!
We had a fabulous time celebrating this milestone in their lives!

Monday, June 6, 2016

Graduation Cards

If you know me, then you know that our oldest just graduated from high school!  We are really proud of her and her great group of friends.  Below you'll find the graduation cards that I made for the Class of 2016.  They all use the same sketch from Make It From Your Heart and the Smart Pants stamp set.  The first batch use our school colors, purple and gold.  I chose Gypsy card stock and Honey B&T from the Magical paper pack along with the black geometric B&T from La Vie en Rose.
This version uses gold shimmer trim, gold fundamentals assortment, and blue & purple epoxy gems as embellishments.
A girl in our church goes to the rival school in the next county.  Pacifica was a good match for their blue and white color scheme.  The black piece is from the retired Charlotte paper pack.  I used blue shimmer trim and white sequins.
Our final graduate's school colors are teal, black, and silver.  Lagoon card stock, teal shimmer trim, and sequins from the Florence assortment completed her card.
Last Sunday, we celebrated Senior Sunday at church for our three adorable graduates.  Ansley and Sean have known each other since before they were born!
I'm linking up these cards to the Heart 2 Heart Challenges Congratulations challenge.  Congrats to the Class of 2016!

Thursday, June 25, 2015

Bride & Groom Card

Today is the last day of summer semester for my EDS program, and as of this afternoon, I will have completed 60% of it!  {{YIPPEE!!!!}}  Now, you might wonder what that has to do with this post, but I actually do have a connection.  One of the guys in our program is getting married, and I made this card to go along with the Home Depot gift card we all contributed to for him and his new bride.
This card was so easy to make, but I love how elegant it is!  Using my CTMH/Cricut Artfully Sent cartridge, I just followed the instructions for size and cut, and it did the rest to my White Daisy card stock base.  Since I didn't know their wedding colors, I chose to back the cutout with silver glitter paper.  I debated adding metal flowers from the Brushed Assortment, sequins, or silver shimmer trim, but decided the card looked great as is.
To hide that square inside, I lined the card with piece of White Daisy card stock that was 1/2" less than the card base itself. I stamped "Best wishes" in Slate (from the Artfully Sent collection) and the banner and Mr. & Mrs. from my Celebrate Love stamp set.  (BTW, this stamp set is retiring and is available while supplies last.)

We had to sneak the card around in class to get everyone to sign it before presenting it.  Best wishes to the new Mr. & Mrs.!

Wednesday, June 10, 2015

Happy Retirement!

A dear colleague (and our daughter's 1st grade teacher) retired last week.  While this card looks like a graduation card, I made for her for her retirement.  The inside says, "Congratulations on your 'graduation' to retirement!"  She's an avid reader who is also writing a mystery novel so I thought that this owl from the Teacher Appreciation stamp set was a great fit.
The "congratulations" stamped all across the card base is from the Diploma Day stamp set.  I used pieces from the Chalk It Up paper pack and a sketch from Make It From Your Heart, Vol. 2.  Embellishments include teal shimmer trim, a black epoxy star, and black sparkles.
I think she's happy to be retiring!  Best wishes, Mrs. Turlington, as you begin this new chapter in your life!

Thursday, June 4, 2015

Look Who Got Her License!

Last Thursday, our older daughter got her driver's license!  (Watch out, world!)
I surprised her with this card and a new wallet plus matching lanyard when we got back out to the car.  She was really pleased but of course questioned what I would have done if she hadn't gotten her license.  I just laughed and said, "Kept it hidden until you finally did get your license!"
 Because her car is gold, I started with a Champagne card stock base that I cut with the CTMH/Cricut Artfully Sent cartridge.  The car license plate actually is cut out to say #1 Dad, but I covered that portion with a handmade "license plate" using the Congratulations stamp from the CTMH/Cricut Artfully Sent sentiments stamp set.  I lined the windshield with a piece of B&T from the Wanderlust paper pack and then made the "road" with a strip of Chalk It Up B&T.  Before I added the White Daisy card liner, I used white shimmer trim for the headlights.  The parking lights are gold glitter gems.
On the inside, I stamped Congratulations again with Smoothie ink, added a strip of Gold polka dot washi tape, and the license plate zip strip from the Wanderlust paper pack.

She was thrilled!

Monday, May 18, 2015

H2H Challenges: Extra! Extra! Read All About It!

The latest installment of Heart 2 Heart Challenges is the theme challenge, Extra! Extra! Read All About It!  The project that I came up with is not at all where I thought I would go when I first read about this theme challenge.  I definitely like how all the versions of my card came out, though.
It is so hard for me to believe that this is our last week of school and that graduation is Friday night!  Since our school colors are purple and gold, I grabbed my Gypsy and Honey inks and papers to create this fun graduation card.  (It is based on the sample with the Diploma Day stamp set in the Seasonal Expressions 2 on page 17.)  The main sentiment is stamped in Gypsy on a piece of White Daisy card stock cut with the CTMH/Cricut Art Philosophy cartridge.  To create the tassel on the mortarboard, I first stamped it in Honey on the sentiment frame and then in Gypsy on scrap that I then cut out.  I snipped away the tassel on my Gypsy piece and then adhered it over the top of the stamped Honey image.  My embellishments are white and gold shimmer trim plus white epoxy stars.
 This second version uses purple glitter gems as embellishments.
 Another young friend's school colors are black and gold.  Can you see the shine on the Basics Paper Fundamentals embossed card stock?
 Here are two "generic" versions in case I need a few more graduation cards and don't know the correct colors to use.  You can't go wrong with black and white for graduation'1

Thanks for stopping by and taking a look at my Extra! Extra! H2H challenge submission.  You have all month to join us!

Sunday, April 26, 2015

Welcome Baby Card

A friend recently had a baby boy, and I made this quick card for them.
If this card looks familiar, it's because it uses the same basic materials as my H2H Wonderful Word challenge card.  It is a swing card with a Colonial White base and pieces of Seaside and Blossom paper packs plus the New Arrival stamp set.  Does the heart sentiment look like a balloon to you?  I hope so!  I am loving the thick Glacier twine!
To color the elephant image, I just grabbed my blending pen and inks after stamping in Cocoa.  This was a fun way to welcome a sweet baby boy to a sweet mom and dad!

Saturday, March 14, 2015

Try Stamping on Tuesday Top 3

This card was selected as one of the Top 3 for the Try Stamping on Tuesday challenge #207!
Thank you very much!  That one was my favorite of the two, also.

Saturday, October 11, 2014

Thank you!

Thank you to the Fantabulous Cricut Challenge Blog for selecting my bird cage card was one of the Top 5 for the #230 Shape Up Challenge!


Fantabulous Cricut

Thank you also to the Color My Heart Color Dare for selecting my card as the Ruby winner of the Cranberry, Canary, and Glacier color challenge!

Saturday, June 28, 2014

On This Day Wedding Card

My cousin is getting married today, and we are excited to be with them as they begin their journey as husband and wife!
 This card uses the Ariana paper pack and some extra White Daisy card stock.  I knew that I wanted a 5"x7" card, and I thought that this dark Ariana gray was very handsome.  I currently don't have any wedding stamps, so I started looking through my CTMH/Cricut Artbooking cartridge.  I found several cuts that I thought put together would make a great wedding card!  All four of them come from different pages.  I just remember to use my real dial size button to scale them to the size that I wanted.  To dress up the card, I added a piece of Silver shimmer trim, the last of my gorgeous slate polka dot ribbon, a slate twist tie, sparkles, and a sparkle flourish.
The together banner that I cut was too busy for the card front, so I stuck it on the inside.  I also added a White Daisy panel so that I will be able to write our well wishes inside.  A piece of zip strip and a little more shimmer trim really finishes off the card nicely.  Can you believe that I didn't use any ink anywhere on this card?  Crazy, I know!

Best wishes to the new Mr. & Mrs.!

Friday, November 29, 2013

Thank You!

What a surprise!  I was totally shocked when I went over to the Color My Heart Color Dare blog to find that I had won first place for my gratitude mini album.  Thank you so much!

Monday, April 29, 2013

Heart 2 Heart Challenges: Tuck It In

The final April challenge @ Heart 2 Heart is to "tuck it in."  With graduation quickly approaching (5/17!), I couldn't help but think of cards that can easily have a check or cash tucked into them.  Here's what I created:
 I used my Cricut Artiste cartridge to cut everything on the front, starting with this cool card base from Crystal Blue card stock (p. 57, cut @ 3-3/4").  The banner is from the Artiste collection stamp set, Birthday (p. 58, cut @ 1").  The adorable hot air balloon is part of the April stamp of the month, My Sunshine* (p. 70, cut @ 2-3/4").  The clouds can also be found on p. 70 (1" and 3/4" cuts).  I chose the Gypsy and Honey color scheme to match our school colors.  The "grass" is a strip of Chantilly B&T that I hand trimmed to mimic the banner.
 The two stamps on the inside are from the Artiste Kudos stamp set.  At graduation time, I always think about Dr. Suess's book, Oh, the Places You'll Go! and the hot air balloon reminded me of that too.
Now, can you tuck it in?  Since the end of the month is tomorrow, we've extend this week's deadline to Saturday, 5/4.  All the other April challenges will close tomorrow at midnight.  I hope you'll join us at H2H!  Be sure to check out our Design Team's inspiration for you this week.

*If you'd like to see a layout with the adorable April stamp of the month, click HERE to check it out.

Wednesday, April 18, 2012

Baby Cards & Mini Albums

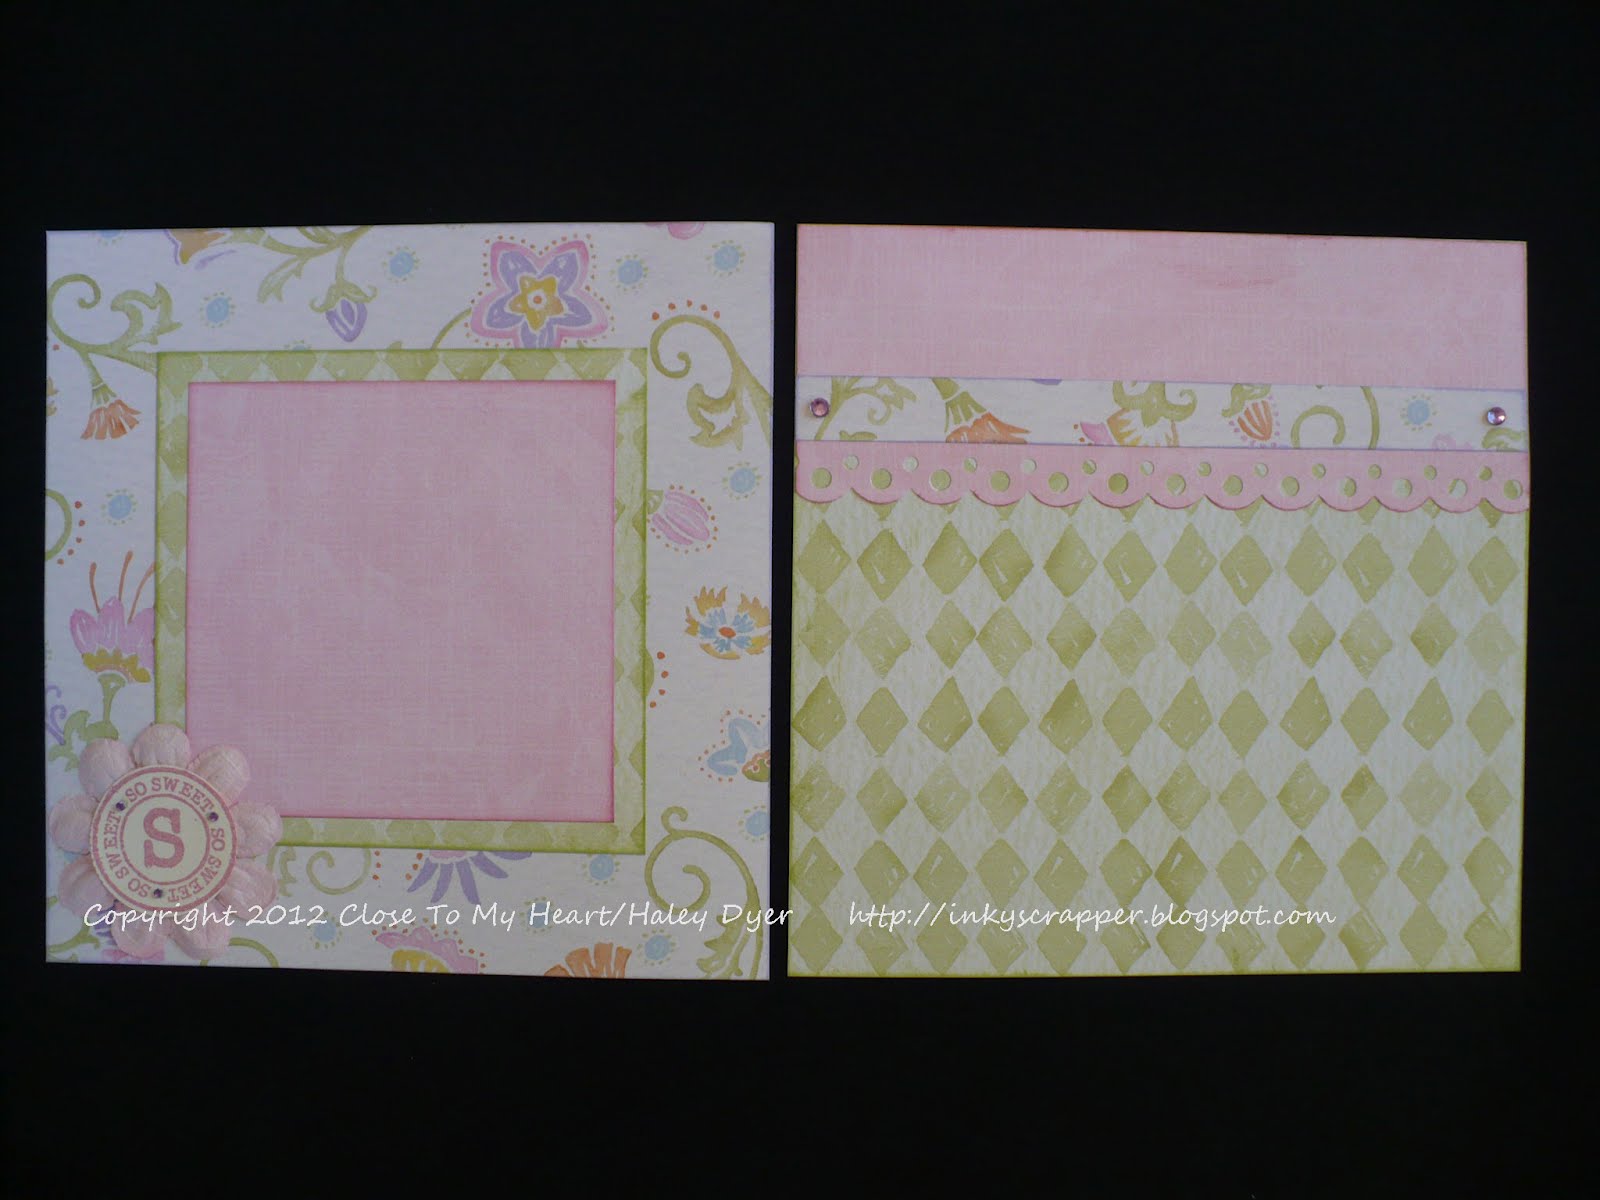
A dear family friend is expecting her first grandchild, a precious baby girl, and I was able to attend a baby shower recently for them. I decided to make both the new mommy and new grammie each a 6"x6" mini album. Because the nursery is lavender and yellow, I thought that these retired CTMH papers went well.
Here are the pages of their albums, which are pretty much identical for the mom and grandma.


LinkWithin

Related Posts with Thumbnails