Monday, July 9, 2012

Kraft 6"x6" Mini Album

My parents just celebrated their 44th anniversary, so I made a little something to commemorate this day and their life together so far: a mini album using Close To My Heart's 6"x6" kraft card and envelopes.  I paired the "album" bases with the Roxie paper pack and the Card Chatter- Love stamp set, adding in various embellishments that I had on hand.  (Here's the whole gang: my parents, my siblings and their families, my family, and my mom's sister.)

Before I began decorating, I used my 3-hole punch (you know, from the office supply store) to punch two holes in each card and each envelope.  Using the 3-hole punch allowed the holes to be uniformly punched on each "page."
Here is the front cover:

Pages 1 & 2:

The envelope flap opened with the pull-out tag:
The right page opened up to make another layout (sketch from Imagine):
Pages 3 & 4:

The right side, opened:
Pages 5 & 6:

Opening the right envelope flap:
See how the flap will tuck behind the photo mat?

Pages 7 & 8:
The slide-out tag from page 8 (the card was turned with the flap at the top and then I cut off about an inch off the right side):
Page 9 (with the same tag from the photo above showing):
Pages 9 & 10:

Somehow I missed a photo of page 10 opened up to show the inside of the envelope and its pull-out tag!  Finally, here is the back cover:
If you're still with me, I'll close with a picture of my hubby and me, because we also just celebrated our anniversary.  We're looking forward to 44 years together, but it will be a while!

Sunday, July 8, 2012

Perfect Pairs Special Offer: Dreamin' and Harvest Charms

Right now on my CTMH website, if you purchase $75 worth of product, you'll get the Dreamin' paper pack and Harvest charms automatically added to your order.  (The Perfect Pairs special is going on all month; the Dreamin' combo is available 7/6-10 or while supplies last.)

I thought I'd share two of my favorite (past) projects using this beautiful paper pack.  You can find all the details HERE if you'd like to learn more about the Clock card, and the original link to the Double-Z fold card is HERE.

Saturday, July 7, 2012

Another Red, White, & Blue Layout

In addition to working on getting my house purged and reorganized, I am also working on my scrapbooks- getting pictures scrapped and layouts in albums.  (After each day's job is finished, I get some scrapping or reading time!)  Even though our daughter's first birthday party wasn't red, white, and blue, her pictures have a lot of those colors.  The (retired) CTMH Fanfare pack seemed like a great match, as did the It's Your Day and the Friendship Alphabet stamp sets.

The current Lasting Memories Layout Challenge #95 is Red, White, and Blue (or Red and White), and I can't resist linking up my layout. I like how the yellow touches keep the layout from being too patriotic.

Thursday, July 5, 2012

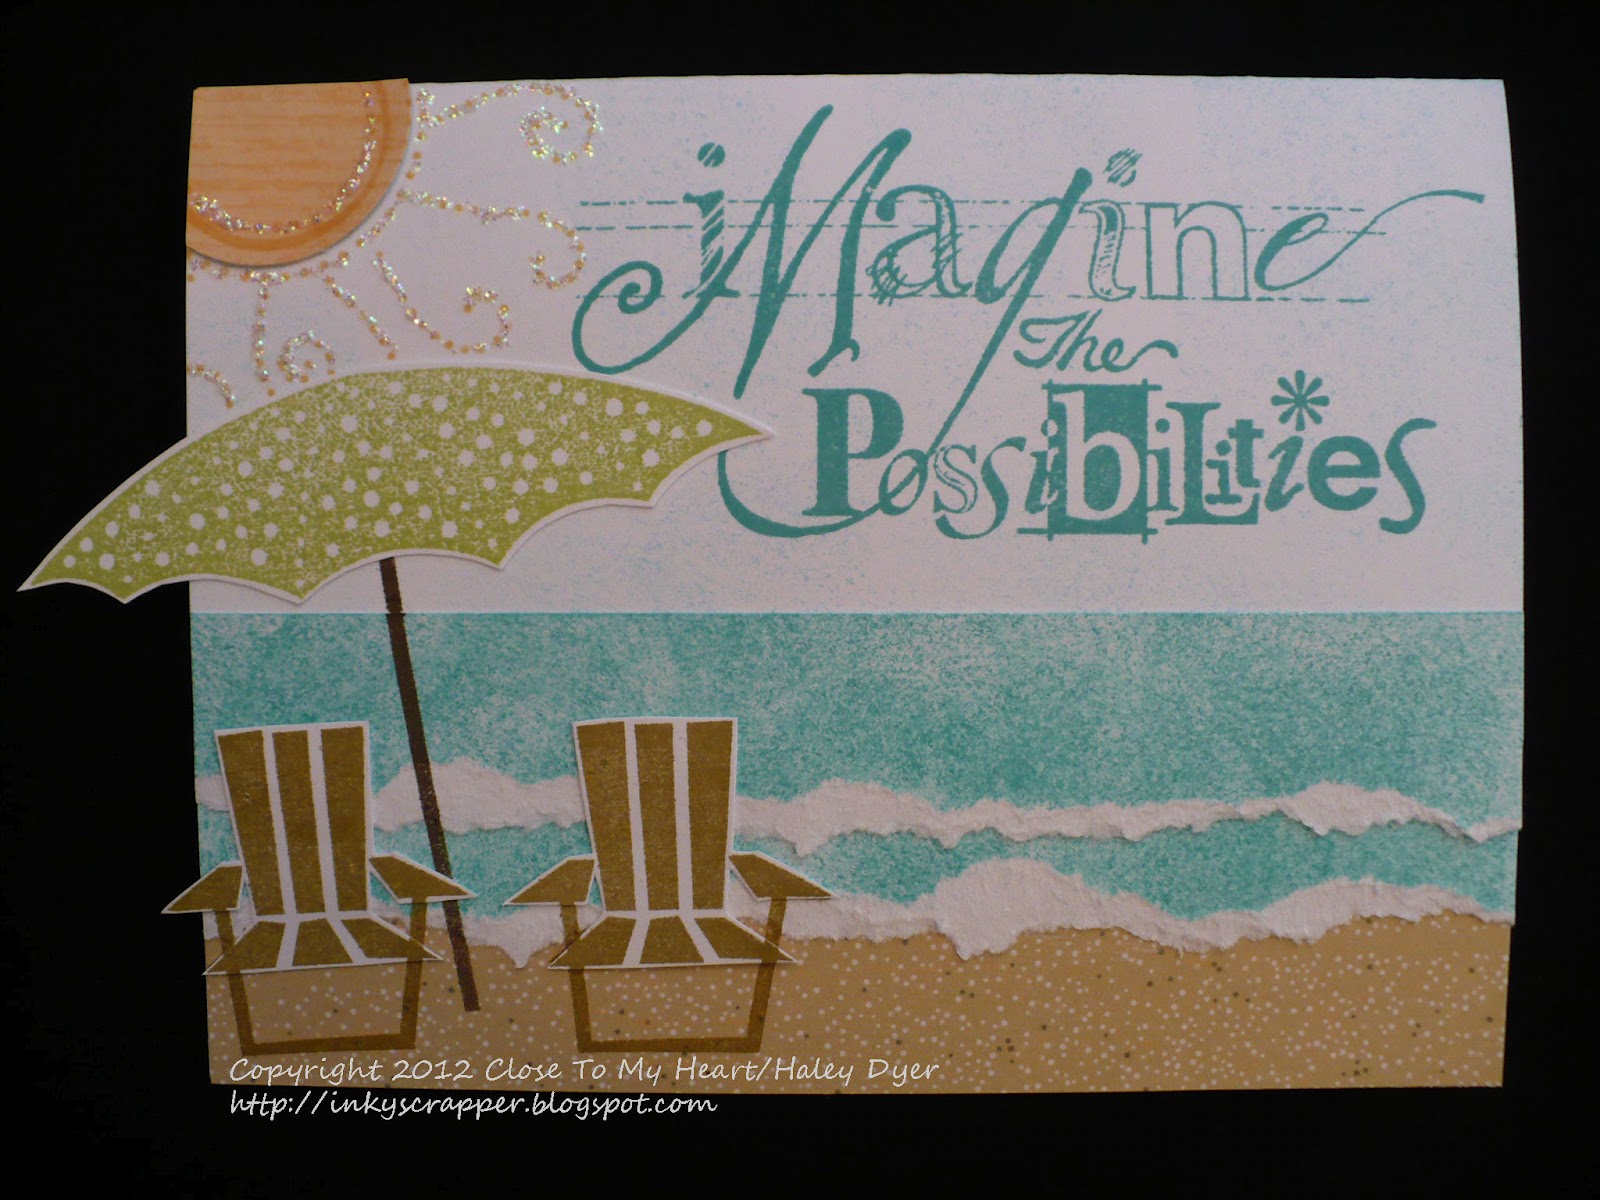
Imagine the Possibilities (July SOTM Card)

When I looked at my beachy card from my recent stamp class, I began to imagine the possibilities...

Don't you think this would make a great retirement card?  If you'd like the details on how to make this card, click HERE.  The only differences are that I lightly sponged the sky background with Lagoon ink, paper pieced the sun center, and stamped the sentiment from the July stamp of the month, Live Out Loud, with Lagoon ink.  (I think the sentiment needs to be over to the right just a bit more, but I can live with this one.)

Whether you're retired or not, imagine the possibilities and enjoy all that life has to offer!

Tuesday, July 3, 2012

Scrap Our Stash July Challenge: Seeing Stars

Scrap Our Stash is a fun monthly challenge blog where all skill levels, products, etc., are welcome!  We definitely encourage you to use up some of your stash each month.  The July challenge is STARS, so I dug deep into my photo stash to scrap these pictures of my then-15-month-old (who is now 11!).  I am working hard this summer to get all my layouts in albums and to go back and scrap old photos like these.
For the left page, I wrote my journaling first (fortunately I had written it way back then and stuck my notes with the photos) and then stamped the stars along the journaling.  The stars are from the Close To My Heart American Celebration and (retired) Shining Stars stamp sets.  (For both pages, stamp your largest image first, then go back in and fill in with the smaller stamps, working from smallest to largest.)  Then, I cut along the edges of the stars to create the border.  Finally, I backed it with the striped paper from the CTMH Superhero paper pack.


I embellished both pages with red, white, and blue sparkles, (retired) gold star brads, and red Glitter Glitz Gel.
For this largest star, I first inked it up in Cranberry, rolled the edges in black, and then stamped it on the bottom left of my 12"x12" Colonial White card stock.  I then stamped the star again on scrap card stock in Moonstruck, sky, and Sunkiss Yellow (the colors of the Superhero paper).  I cut out the pieces that I wanted to use and then glued them to the base star.  When my photo mat hid the right "arm" of the star, I used an exacto knife to cut it and was able to slide the mat behind it.
Now it's your turn!  Visit the SOS blog and link up your starry project.  It doesn't have to be patriotic, and you'll find some great inspiration over there.  Happy scrapping and to all my American friends, happy Fourth of July!

Monday, July 2, 2012

H2H Challenges Patriotism Meets JUGS Stars & Sparkle!

Today I am super-excited to share the first July challenge from Heart 2 Heart Challenges!  First, it's a great one with one of my favorite subjects: patriotism.  However you would like to interpret that subject is fine by us as long as you use some Close To My Heart products on your project.  (Remember, we have a new challenge each Monday, but you have all month to play along.)  Second, we are introducing a brand new design team to you this week!  Please visit the H2H Blog to check out our new gals and their great work!  They are sure to inspire you these next six months.

Also, if you noticed from my title, Just Us Girls has a "wild card" challenge (#143) going on right now: stars and sparkles.  I think this card has the stars, stripes, and spangles for both challenges.

If this card looks a little familiar to you, it's because I made it with pieces leftover from my recent card class.  I used the Superhero paper pack and a card sketch from Originals (retired).  You can't see it well in the photo, but I misted the main panel with Sky ink before overstamping it with the music score from the Universal Backgrounds stamp set in Moonstruck.  The Cranberry heart is stamped with the large circle design from the American Celebration stamp set.  The blue and red stars were also cut with the Cricut Art Philosphy cartridge.  (The red one is covered in Red Glitter Glitz Gel as is the zigzag stripe on the border.)  The kraft Milestones corrugated cardboard shape was distressed with Sky ink.  A Cranberry sparkle and knotted grosgrain ribbon finish off the main panel.  I then highlighted the stars and a few stripes on the bottom pieces with Liguid Glass for more shine.

Thanks for taking a look at my patriotic card.  God Bless the USA and happy Fourth of July!  Take some time to get crafty this holiday week and link up your projects to the H2H Challenges blog and/or the Just Us Girls blog.

Saturday, June 30, 2012

CTMH Stamp of the Month Blog Hop: Live Out Loud (July 2012)

Welcome to the July stamp of the month blog hop!  It is time to Live Out Loud!  If you'd like to be inspired to use this stamp set, join me and a large group of talented consultants.  Hopping is easy; just click on the link to the next blog.  (If you're already hopping, then you should have arrived here from Gina's blog.  You'll hop on over to Lori's blog next!)
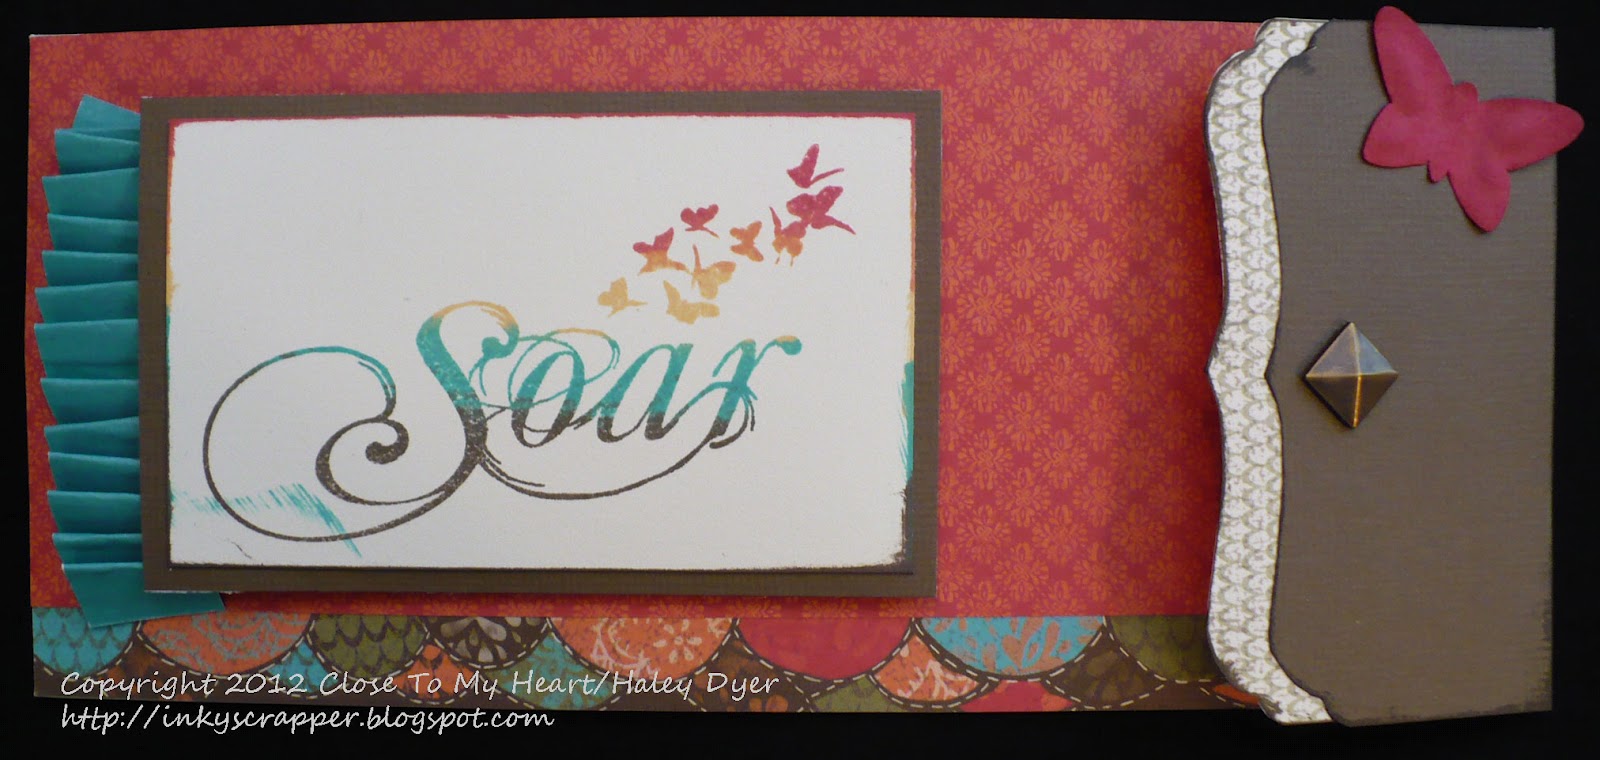
Once I started creating with this stamp set, I couldn't stop!  All of these projects use the Stella paper pack and the coordinating inks: Cocoa, Tulip, Sunset, Olive, and Lagoon.  (On a few, I added in some Creme Brulee too.)  This layout actually began with the Soar stamp.  I knew which colors I wanted to use and then built my layout around this piece.  (I inked up the top half in Creme Brulee, then added a little Sunset toward the top and Tulip at the very top.  Then I inked under the Creme Brulee in Lagoon, Olive, and then Cocoa.  Finally, I "huffed" or breathed onto the stamp and then stamped it onto the Colonial White square.  This image took my breath away!)

My embellishments include Paradise baker's twine and Tulip embroidery floss plus wooden butterflies from the Garden collection.  I also used the Friendship Alphabet Small for my journaling and had my daughter sign her name to the page too.
 I used the same stamping techniques on this 8"x3.5" die cut card.  Can you see how I "rainbow" distressed the edges of the sentiment?

This next card was really fun to make.  I wanted something a bit funky, and I found a little rubbery plastic ring in my distressing kit that looks like a mini koosch ball.  I inked it up in Sunset and "stamped" it on my card base.  It wasn't enough color, so I did it some more with Lagoon ink.  Better, but not quite the look I wanted.  I tried it again with Cocoa and then had the fun funky look I wanted.  The card is completely made of scraps.  I highlighted "loud" with Bronze glitter glitz gel and added a few Mocha Opaques pearls.

For my last card for today, I was trying for a more masculine look.  What do you think?  The circle was actually one that I didn't use on a previous project, so I paired it up with the square card and the square mat. I grounded the sentiment with a piece of zip strip (you know, the piece with the CTMH logo and paper info?) and highlighted certain words with ink and my blending pen.  The circle Milestone cardboard piece seemed to fit the wordly theme.  I hope the Cocoa ribbon tag doesn't make the card too feminine; I like how it mimics the corrugated cardboard.

Before you head off to Lori's blog, I want to tell you, dear readers, how much I appreciate you!  Thank you for your kind and constructive comments.  I'd love to know what you think of my projects.  I have a few more ready to share over the next few days, so be sure to come back.  Live Out Loud is available during July 2012 only, so contact your CTMH consultant to get your own set this month.  Now go check out Lori's layout and the rest of the blog hop!

Friday, June 29, 2012

Summer Card Class Recap

Recently I taught a summer themed card class with eight lovely ladies in attendance.  (I'll have to get copies of Ann's photos of all of us!)  We were please to welcome a brand new stamper to the cult club. LOL

We kicked off our class with a celebratory Americana card using the Superhero paper pack.  Techniques included basic stamping, rock 'n roll inking/stamping, paper piecing, and direct-to-paper edge distressing.  The kraft star is from the Milestones cardboard accents collection.  This card sketch comes from the Originals book.

We kicked it into relaxation mode with this Just Chillin' card.  We misted the background with Sky reinker/alcohol in our cool little mist-its.  The "sand" is from the Footloose paper pack.  All the stamped images are from the Just Chillin' stamp set, and we practiced sponging and tearing plus more paper piecing.  The gals were excited to create a scene on their card.  The finishing touch was a bit of Stardust glitz glitter gel.  This card definitely makes me want to kick back and relax!  (Hubby wanted me to try to make a little drink to go on the arm of the chair.)

This little 3"x3" card is a sweet addition to a little gift or just a little thanks.  We used the June stamp of the month, Life Is Tweet, plus Sweet Leaf and Colonial White cardstock paired with the Roxie paper pack, Smoothie and Sweet Leaf inks, and Smoothie baker's twine.  Can you see how we paper pieced the center sentiment?
 This last card is probably my favorite.  We started with a die-cut 8"x3.5" card base (sold in packs of 10 with envelopes) and dressed it up with the Life Is Tweet (June SOM) stamp set and the Stella paper pack.  Again, we paper pieced the birdie.  Here's a little close up:
If you life in the north Georgia/western Carolina/eastern Tennessee area and are interested in stamping, card making, scrapbooking, or paper crafting in general, look me up!  Life is definitely "tweet!"

Sunday, June 24, 2012

Family Love Layout and Home Decor

At my recent scrapbooking class, we made a family layout that I have been dying to "copy" from the current CTMH Idea Book.  As soon as I saw this layout, I knew that I wanted to make it for myself!  I think that my ladies loved it as much as I do!

Here is the "original":
 And my page:

Here is the completed companion page that I created: 
Finally, both pages together as they will appear in our scrapbook:

The last thing that I did was create a layout to fit into an old 11"x14" frame that I had (literally) laying around.  The only "bad" thing about this project is that I have no where to hang it!  I am going to have to figure out what to rearrange so that I can show it off.
All of the metal ebellishments (Timeless Charms and Durables Studs) are stuck to the front of the glass, not on the inside.  These projects use the Florentine paper pack and the Family Love and Rustic Alphabet stamp sets.

Thursday, June 21, 2012

Fort Pulaski Layout Share

It's been a few summers since we visited Fort Pulaski (near Savannah), but I have (finally) gotten our photos scrapbooked.  Since the shots are so architectural and historical, I kept the patterned paper to a minimum.  I actually used scraps from the (retired) Halloween-themed Mischief paper pack (still available in Studio J).

The top of the left page will open up with a 4"x12" self-adhesive flip flap to reveal the four photos you see at the top of this next photo.  I love how the flip flaps can extend your pages, especially since they are soooo easy to use!
 Here's a close up of the title piece.  Don't be afraid to mix & match your alphabet stamps or fonts.  Staggering the Rustic Alphabet and overlapping them a bit helped me squish the letters into the space that I had (and I love the way it turned out!).  "Fort" was stamped in Barn Red with the Old World alphabet set.
 Here is the right side page.  (I took the photo of the lighthouse while on a "dolphin cruise."  I wish I could remember how old it is, but it is very old and pretty short.  You can only reach it by boat.)
The only embellishments I used were the Durables Studs.  I think they added a handsome, somewhat rustic touch to my photos from Fort Pulaski.  I kept my journaling to a minimum because this layout is really all about the photos (to me at least).

Thanks for looking!

Monday, June 18, 2012

H2H Challenges: Ribbon

This week's Heart 2 Heart challenge is to use ribbon on your project.  Boy, did I have fun with this one!  All of my supplies were things that I had on hand, and (I think) it came together nicely.

I began with a blank, plain wooden frame that I think I got for $1 long ago.  I cut the ribbon to fit across the frame, making stripes.  Then, I spread the tacky glue all over the frame, washed my hands, and quickly hurried back to lay down the strips of ribbon, one at a time, to adhere to the frame.
After it all dried, I trimmed the edges a bit.  The pennants were cut with the Cricut cartridge, and I stamped my daughter's name in Hollyhock and sponged the edges in Cocoa.  (The Sweet Leaf ribbon at the beginning and end of the name pennant is retired.)  I added the mini Sweet Leaf sparkles between each pennant, and then larger pink sparkles in the flower centers.

We decided that we liked the addition of the wooden butterfly, so I embellished it with more sparkles and Bronze Glitter Glitz Gel.
This week's challenge is somewhat bittersweet for me because (a) it marks the last challenge for my great H2H Team B and (b) my daughter was a third grader in this picture and she's now 14!

Now it's your turn.  Go grab some ribbon and get crafty!  Be sure to use some Close To My Heart products and link up your work at the H2H blog before the end of the month.  Happy crafting!

Before I sign off for today, remember that Heart 2 Heart challenges is looking for new design team members (July-Dec.).  If you love CTMH as much as we do and would be interested in creating and posting every other week, please consider applying!  You can read all the details HERE.
Supplies from Close To My Heart: Z1384 Pink Designer Ribbon Collection, Z1316 Cocoa Designer Ribbon Collection,  Z1383 Sweet Leaf Stitched grosgrain ribbon;  C1401 Friendship Alphabet Small stamp set; Cocoa and Hollyhock inks; Z1327 Blue & Green and Z1326 Red, Pink, & Purple sparkles assortment; Z1483 Bronze Glitz glitter gel
Other: frame and Aleene's Tacky Glue

LinkWithin

Related Posts with Thumbnails